|
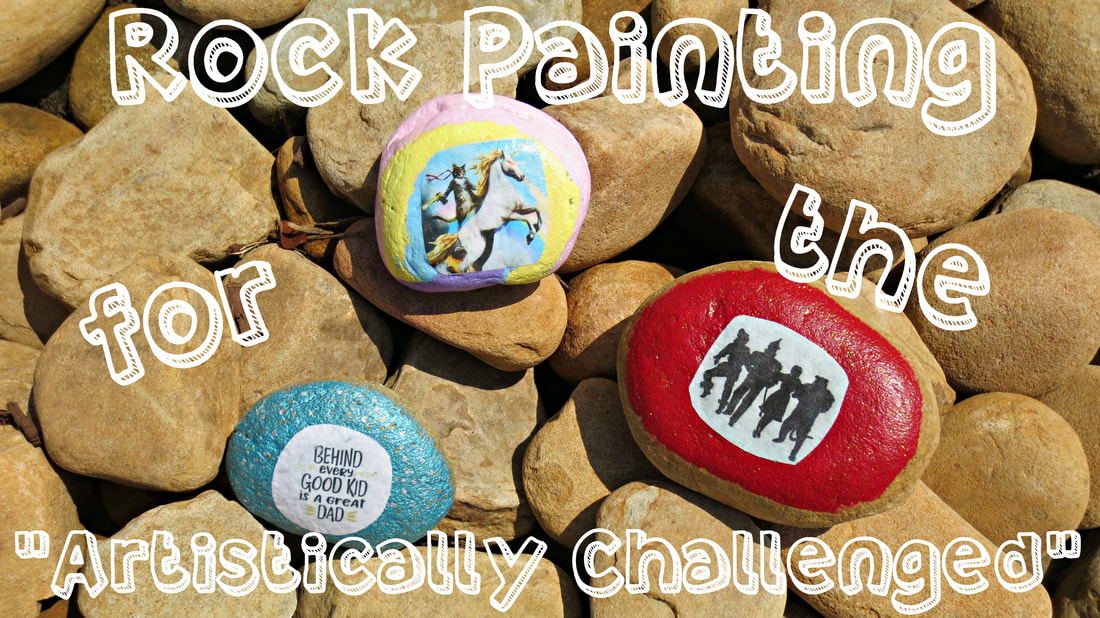
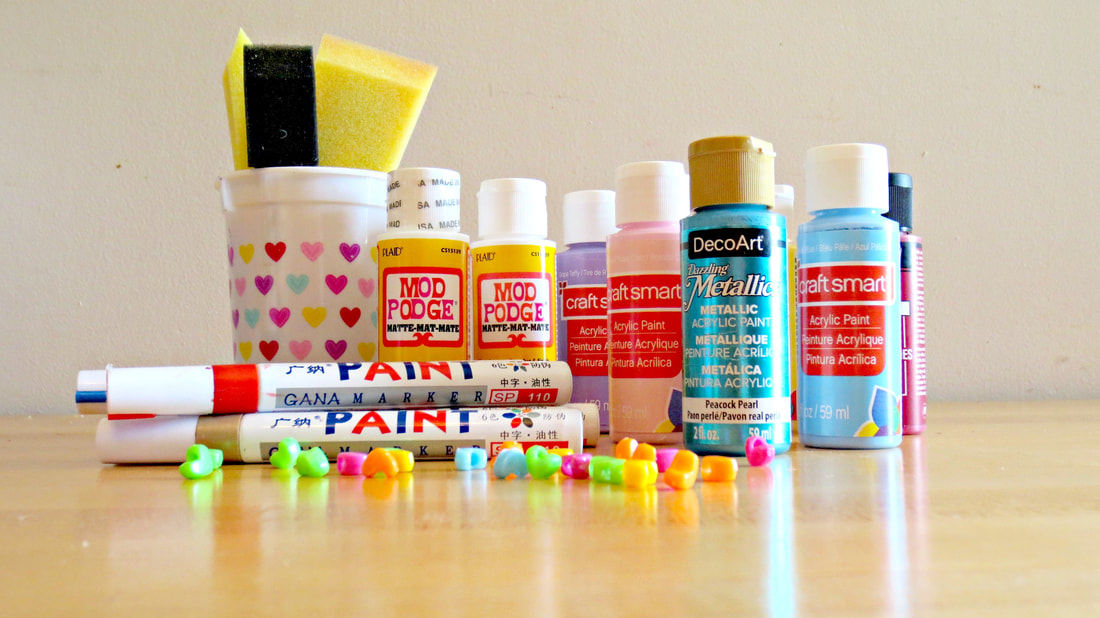
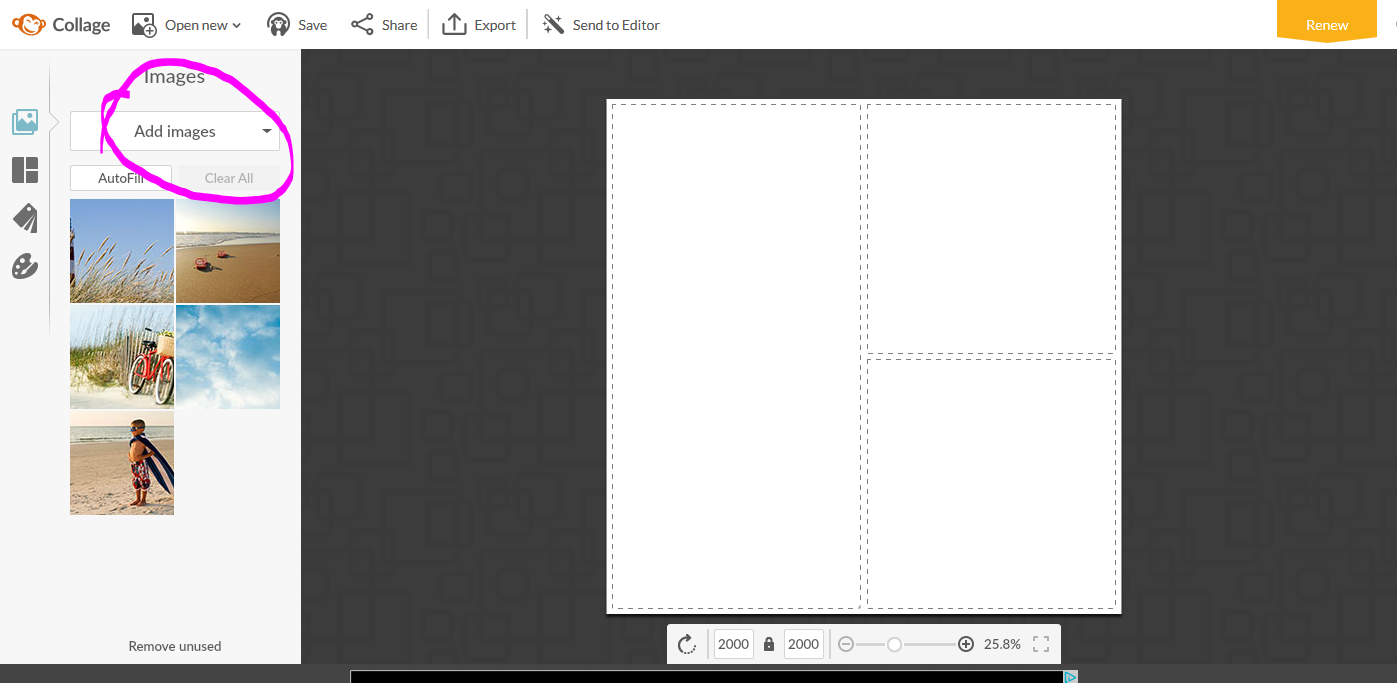
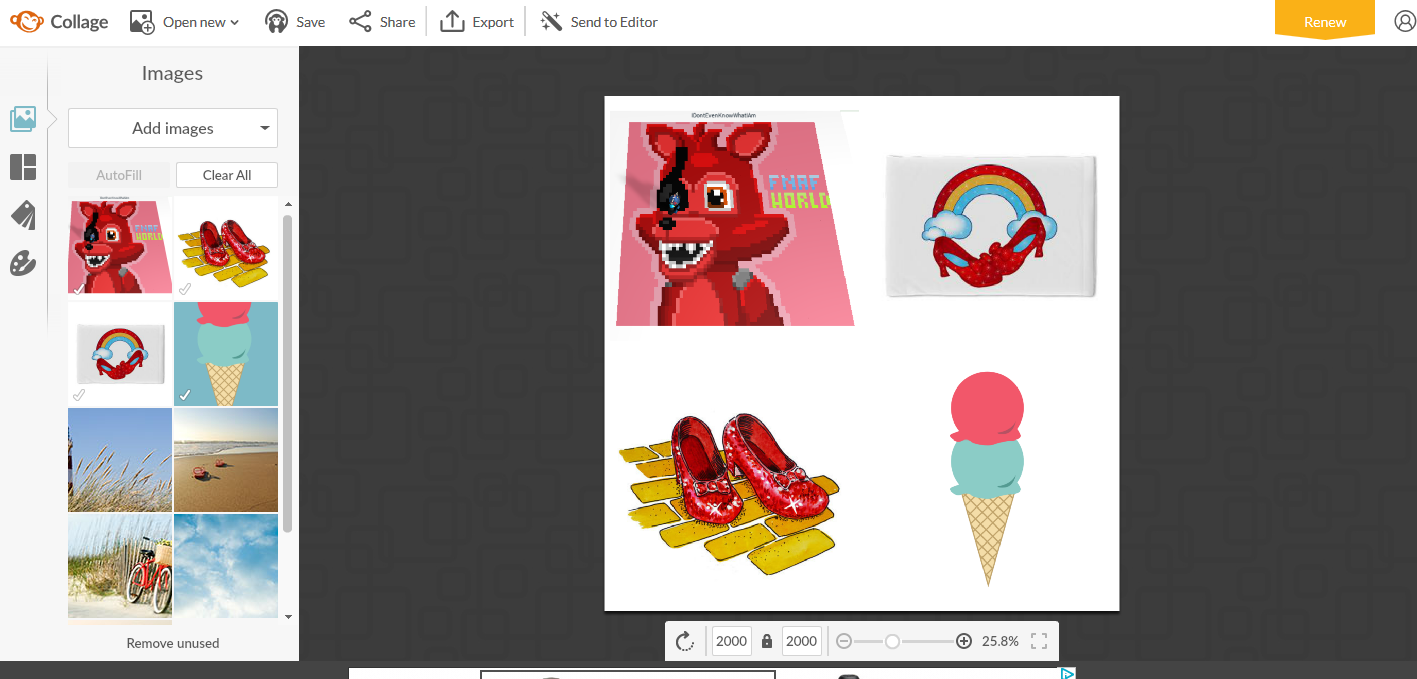
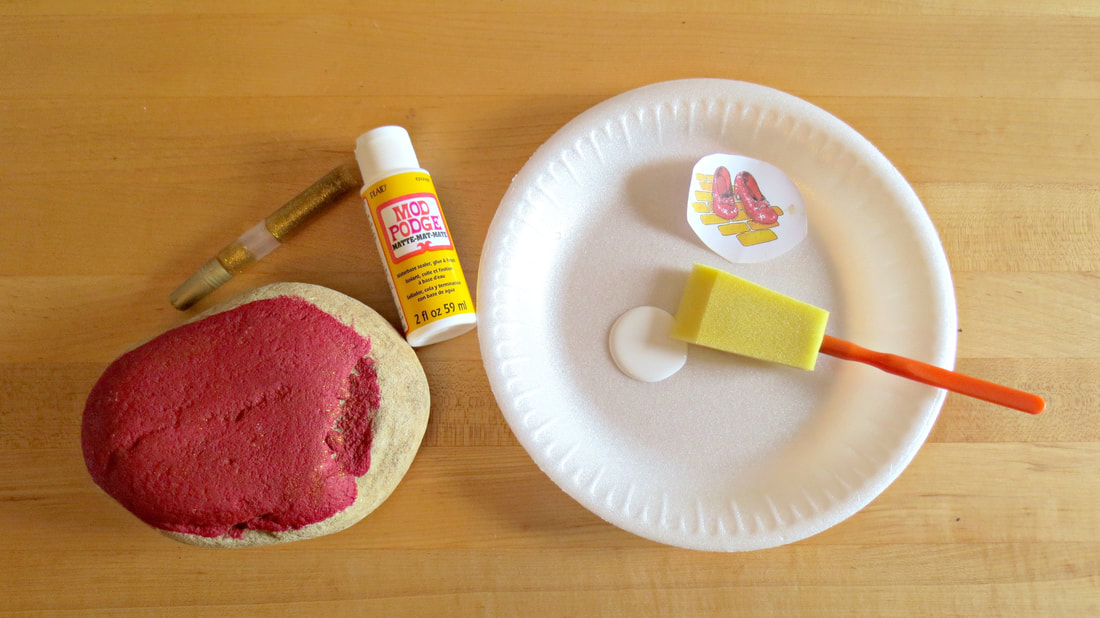
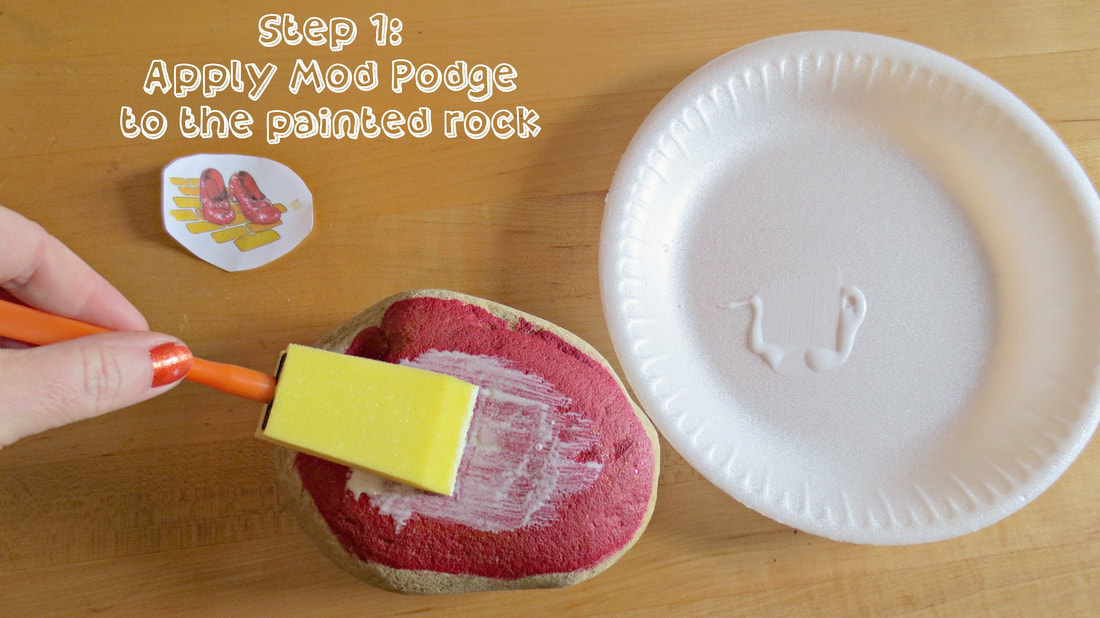
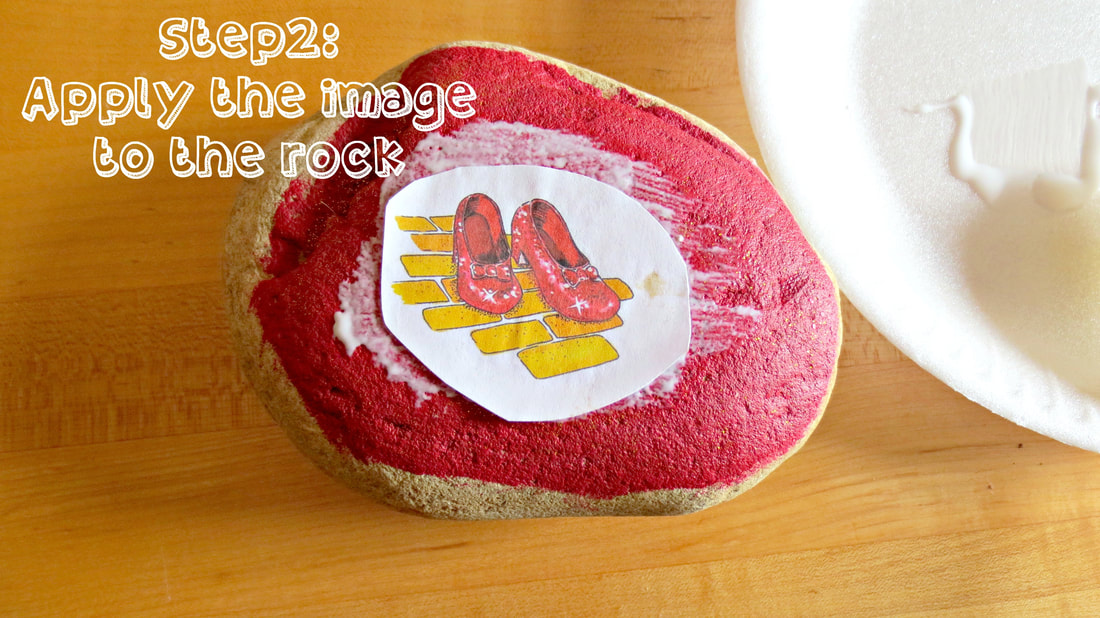
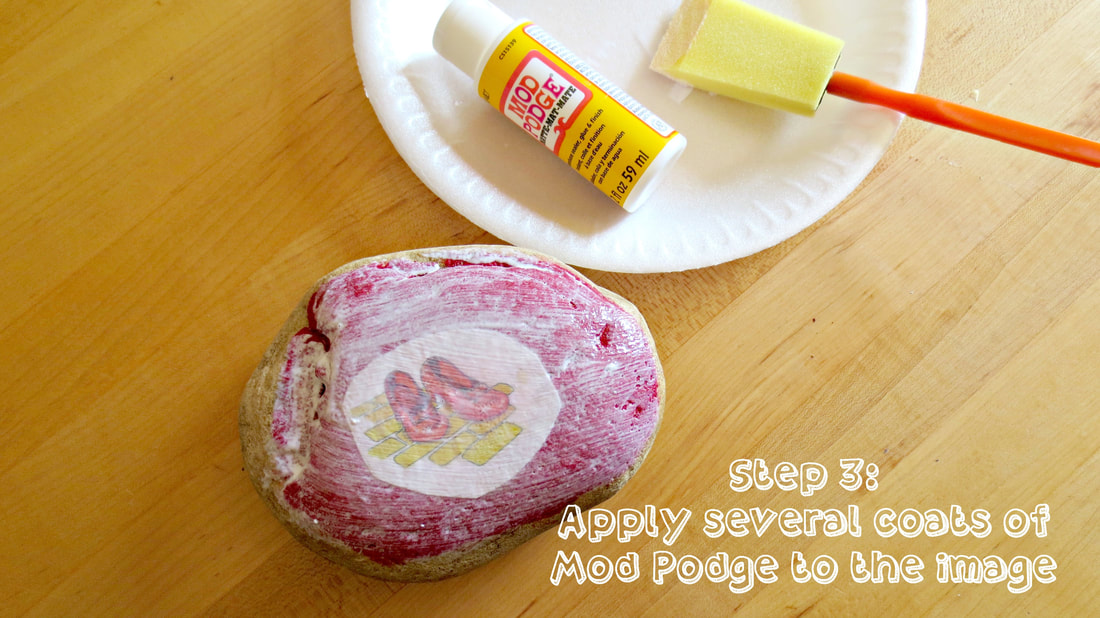
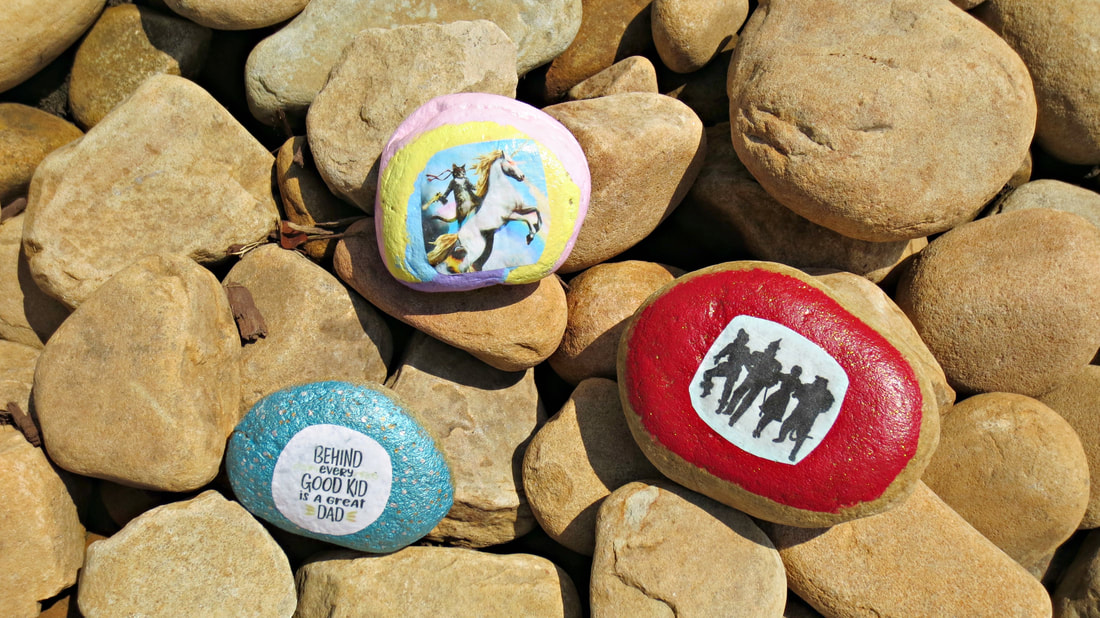
Unless you've been living in a cave or hiding under a rock (see what I did there?), you've probably seen (or at least heard of) the the rock painting craze that is sweeping the country. If you haven't, I will give you the Cliffs Notes version... You paint or decorate rocks and then hide them in inconspicuous spots around town for others to find; kinda like an artsy fartsy version of geocaching. The goal of "rock farming", as some call it, is to bring a smile to a stranger's face when they find your hidden gem. Kinda like a random act of kindness or, what I like to call a "Karma boost". The best part of all; you don't even have to be artistically gifted or even creative to participate. All you need is a few common art supplies, rocks and an imagination. Some people get really fancy with their rocks and paint glorious scenes and portraits and use actual art implements, like brushes and such. (I admit, I have had rock envy more than once) While that is great for them, most of us are not budding Picassos. Instead of allowing my complete lack of creative ability dissuade me from becoming a rock planter, I decided to do what any good, red blooded 'murikan would do.... CHEAT! Yes, I found a way to cheat at rock painting....Say "Hello" to my little friend: Mod Podge aka glorified school glue. When I saw a guy in my local group had painted this really cool rock with the bedroom window flying scene from Peter Pan with glow-in-the-dark paint, I was floored... and also a bit jealous. I wanted to make really cool rocks, but I know my limit(s) and it is somewhere right around stick people. As if by some stroke of artistically challenged genius, I thought... "I can't paint to save my life, but I can decoupage like nobody's business." and it was at that moment, I came up with the most okayest idea I've had in quite a while... decoupage the rocks with clipart from the internet. Yes, I know, I was quite astonished myself. (sarcasm) I set off to make my first rock in a series I call "Stuff I Like". Still remembering the Peter Pan rock I saw on Facebook, I thought of my favorite movie of all time, The Wizard of Oz and I started perusing the internet for free clipart. After finding a few images I liked, I knew they would need to be resized, so I went to Picmonkey. (a free-to-use online photo editing program) This part might take a time or two to get right. Take into consideration the size of the rocks you will be using and resize accordingly. You could also just enter your images into the "collage" feature on Picmonkey and it should resize pretty close to what you'll need. Like this... Go to picmonkey.com and look at the header on the top. Click on the "collage" option. Once your editor opens, look to the left hand side of the page and click on "add images" After you've added your images, choose the 4x4 collage frame by clicking on the appropriate buttons on the sidebar, like this... Go back to the photos you just uploaded by clicking on the picture icon on the left hand side of the menu. (the one on the top that looks like a photo) Add each of your photos to a frame in the collage. You could also use the 3x3 frame as well, if you need your images to be smaller, just leave blank spaces as needed. Now all you need to do is save this collage to your computer and print it out. After you get the images printed, cut them out and see if they will fit the rock you intend to decoupage it to and trim accordingly. You will want to prime your rock with an acrylic paint. Bonus points if it has glitter. You can also use regular glitter glue and add it as its own coat after the initial paint is completely dry. You should end up with something like this.... You will notice I am using the very technical art implement known as a "sponge brush". You can literally do this with a Qtip if need be. (although that would suck and take forever and probably leave lots of fibers behind) Note: Remember to rinse your brushes or sponges out after each use. While this is pretty fool-proof, I added some handy dandy pictures of the steps, in case you're one of those people who likes (needs) pictures... You will want to let the Mod Podge dry in between coats and I like to apply at least three, if not, four coats and then allow it to dry a day or so before planting. After your rock is dry, you can embellish it with paint pens or even tiny beads. (make sure to use an appropriate outdoor-safe glue) These are a few that I have created in the last few weeks. The blue one was a gift to my husband on Father's Day. The ninja cat on the unicorn's back is my personal fave and I probably will not be hiding it, ever and the Wizard of Oz is the opposite side of the one shown in the handy dandy pictures above.
Using this method of rock decorating, the only limit truly is your imagination... and the limits of your clipart finding abilities. I would love to see any decorated rocks you or your kids have made. Drop a comment or link in the comment section below.
1 Comment
|
Follow Me on Pinterest
|













 RSS Feed
