|
DISCLAIMER: A huge "thank you" to Cost Plus World Market for sponsoring today's post.
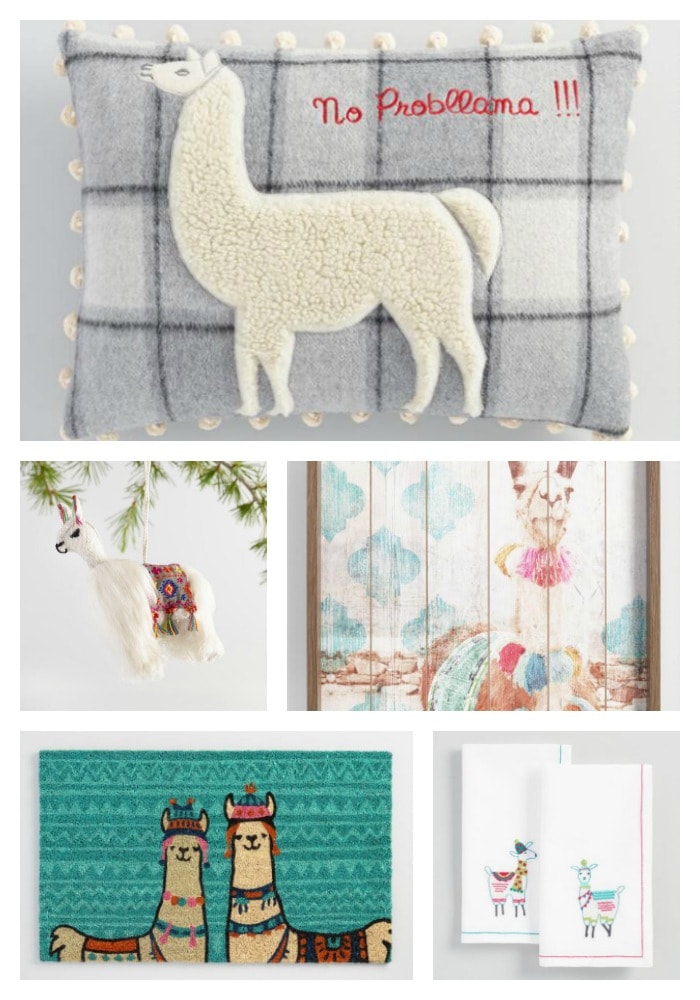
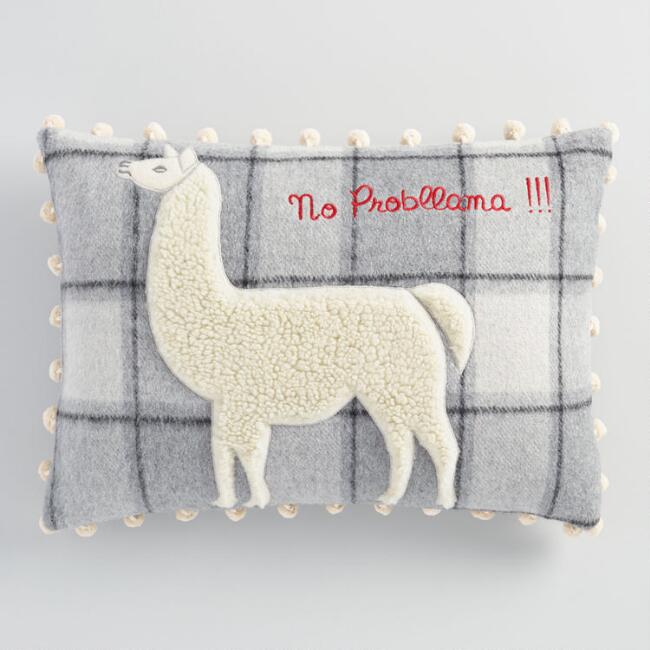
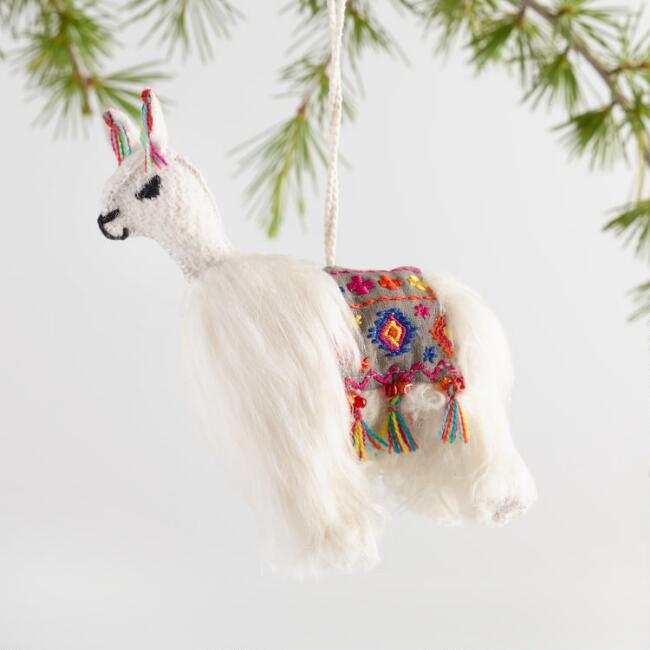
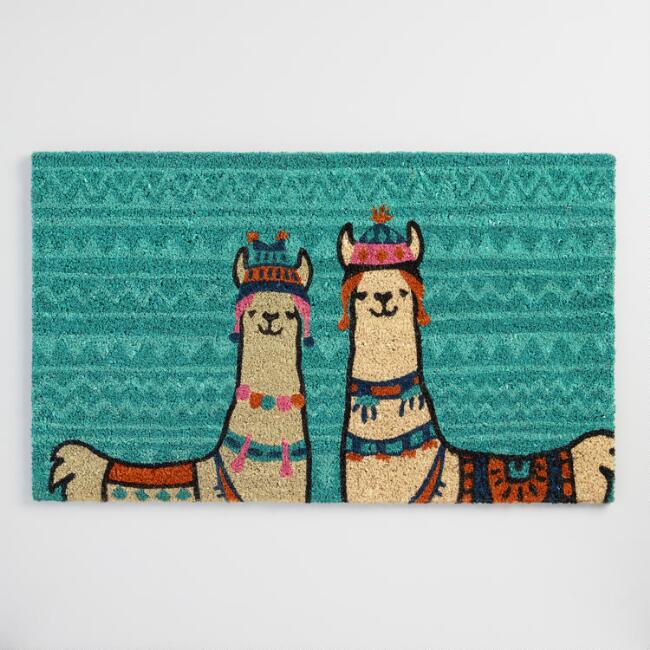
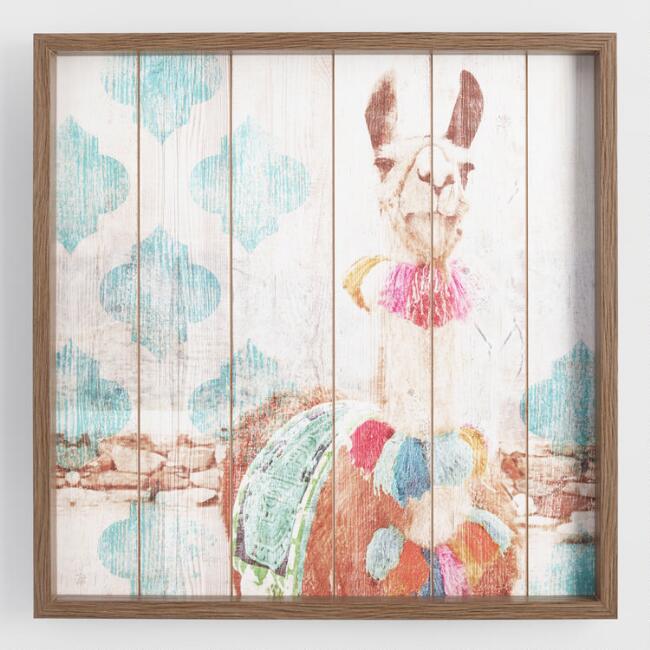
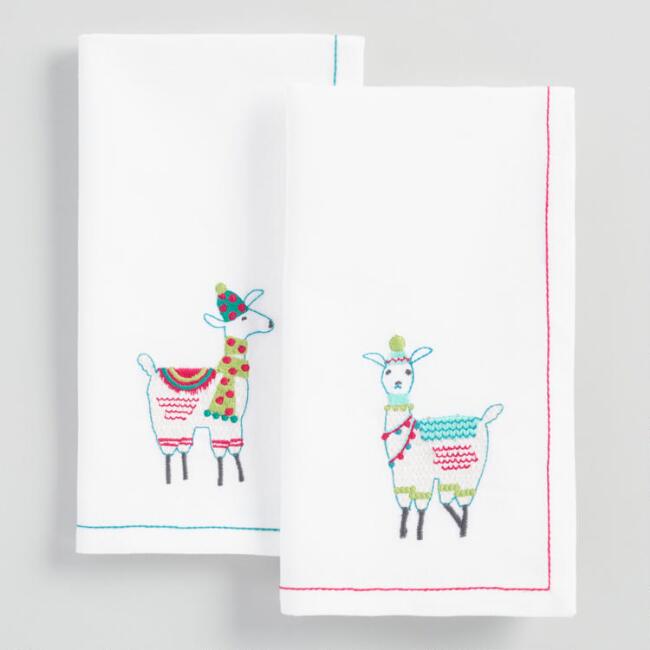
Ever since we visited a drive-through safari park last year, I have had a special little place in my heart for the often underappreciated llama, so you can understand my excitement when I rounded the corner of my local Nashville West Cost Plus World Market store and saw a ton of adorable llama goodies. Everything from llama pillows to llama art to llama lamps, it was all there, at my local Cost Plus World Market store.
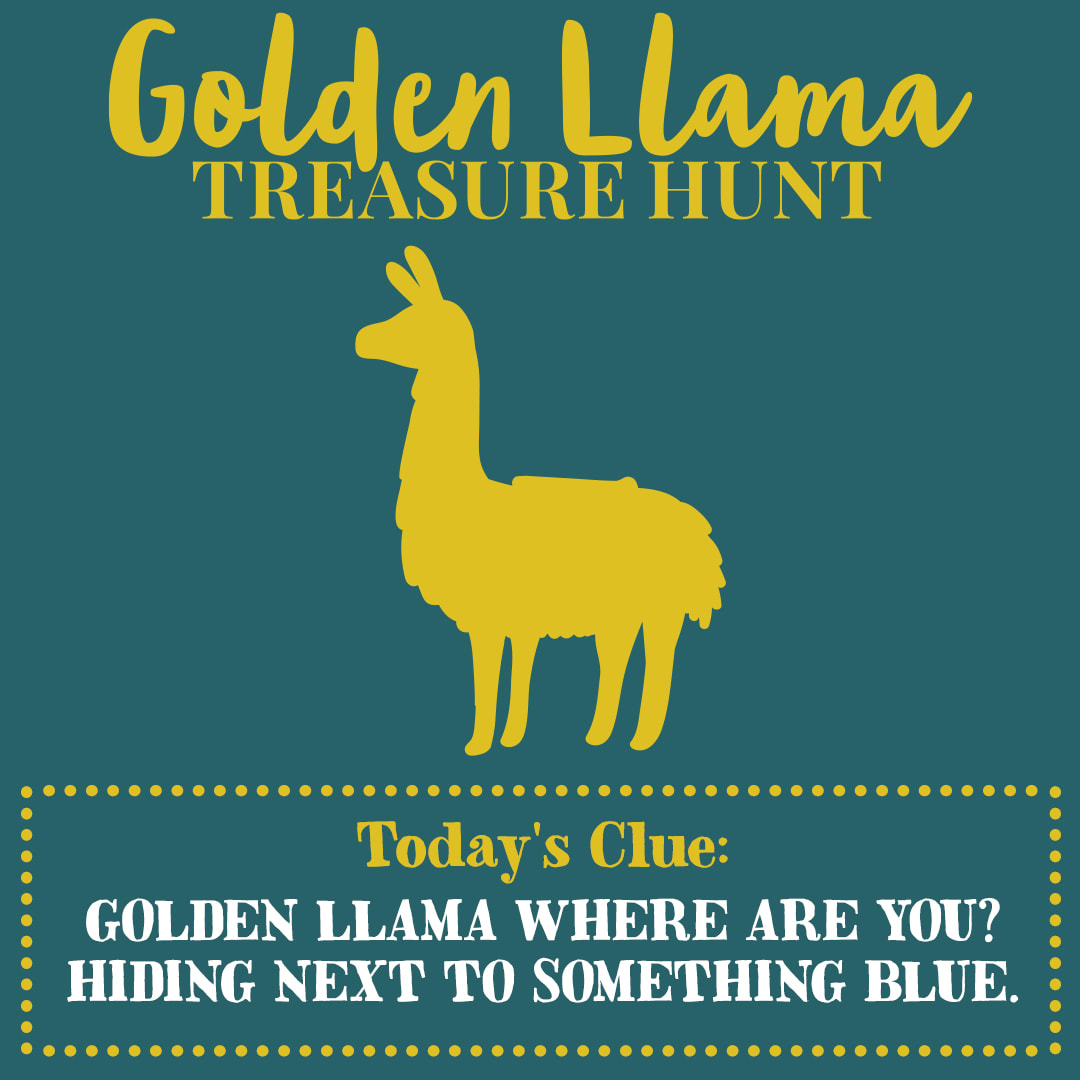
Everything's coming up llamas for the release of Cost Plus World Market's new "Golden Llama Treasure Hunt" program. What exactly is a "Golden Llama Treasure Hunt", you ask? Well, only the most fun scavenger hunt since the one you participated in back at Summer camp when you were twelve and it has better prizes too.
From November 1st through November 22nd, I will share one clue daily, on Instagram, as to where you can find one of five golden llamas at your local Cost Plus World Market store, redeemable for a coupon worth $20, $50 , or $100.
Not sure where a Cost Plus World Market store is near you? Check out this handy dandy store finder for help. Once at the store, use the clue provided below and scour the store for the golden llama, find it and return it to a cashier for a prize, easy peasy.
How to play:
● Every day beginning Wednesday, November 1st through Wednesday, November 22nd, your local Cost Plus World Market store will hide 5 Golden Llama pieces throughout the store. ● Each day, we’ll share the daily clue in-store, via email and on our social media channels. Use the clue to help you find a Golden Llama and you could receive a reward. ● Locate (1) Golden Llama piece and bring it to the nearest store associate to exchange for a reward coupon valued at $20, $50 or $100. Reward is valid only on the day it is awarded. *Limit one (1) reward per person throughout the promotion period, regardless of store location(s) visited. EMPLOYEES ARE NOT ELIGIBLE. See Terms of Participation for complete details. 
Now, for your first clue...
*Shop This Post*
Below is a collection of all the products featured in this post, so you can grab them before they're gone. Click on the picture to be taken to the product page on Cost Plus World Market's site.
0 Comments
DISCLAIMER: A huge "thank you" to Savings.com for sponsoring today's post. All opinions are my own and do not reflect the sponsor.
"Being a parent is one of the hardest jobs you'll ever love." It's a simple quote, but the truth it holds is so deep you will never truly get it, until you actually become a parent.
From the time your child is born, you are responsible for keeping them alive, for making sure they are happy, mentally stable, well adjusted citizens, who eat an organic non-gmo diet of kale and soy burgers and take probiotics with their aspartame-free food based vitamins while driving an eco-friendly zero-carbon vehicle to their ivy league pre-school where they will excel at Lincoln logs and nap-time. But, in reality, kids have their own agenda and give zero craps about your or society's grand ideas. The truth is, kids don't care what they eat or what kind of clothes they wear, the car they ride to the park in or which exclusive preschool they do or don't go to; kids just want to play, have fun and eat yummy treats. (Don't we all?!) Being a low-carb household, we don't usually stock up on sugar-y treats often. Not because I feel kids shouldn't have them, but because I have zero willpower and if it is in the house, I will eat it (and then blame it on the kids), so we try to reserve treats for weekends or when we have parties and get-togethers. When we do splurge and get treats, we try to make sure they are something relatively healthy adjacent with selections like make-your-own banana splits or sundae bar. I mean, bananas are fruit and ice cream is dairy, dairy has calcium, therefore, banana splits are healthy... ok, healthy-ish. Whatever, don't judge me. Whether you're a "sweets are a sometimes food" household or a "give me allllll the treats" household, we all have one thing in common... everybody loves ice cream! Right now, you can score an awesome $1 off coupon good for Blue Bunny novelty treats like the Bunny Snacks or Mini Swirls, redeemable at Publix.
Take everything you ever knew about ice cream sandwiches and throw it out the window. Blue Bunny's amazing bunny snacks are like old school ice cream sandwiches on steroids. (steroids are bad, kids, just say "no"). With flavors like salted caramel pretzel and cookies and cream, how can you possibly say "no"?! (Warning: Eat treats responsibly)
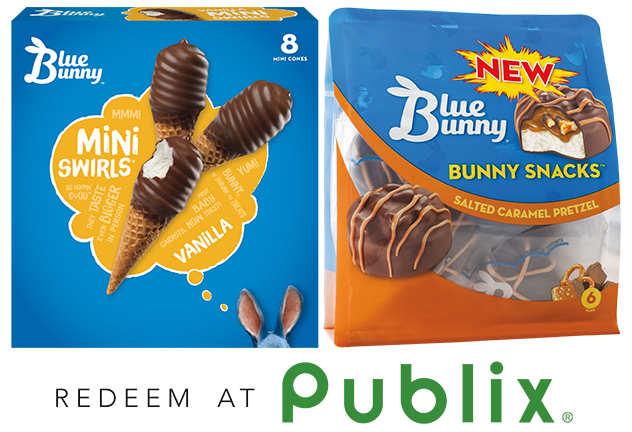
And, for the ice cream purist, there's the classic caramel mini swirls. Delicious Blue Bunny ice cream enrobed in a yummy hard shell chocolate coating with a caramel ribbon inside or the birthday party mini swirls with their frosting swirl and white chocolate coating in a yummy sugar cone.
No matter which delicious Blue Bunny novelty snack you choose, you are sure to win... I mean, what's not to love, it's ice cream and chocolate. Also keep your eyes peeled for the Valpak circular in your mailbox for a bonus Blue Bunny coupon.
*Huge shout out to Fabletics for supplying today's post*
Aside from sleep, the major thing that all new moms are short on is time. Even when you are able to get a moment to yourself, it can be difficult to force yourself to focus on yourself. However, if you never make time for your own health and personal needs, you will quickly find yourself run down and too out of sorts to be at your best as a mom. The importance of recharging your mind and body cannot be overstated.

Squeeze in Short Bursts of Activity
For example, if you are folding laundry, you can do one deep squat with each piece of clothing that you fold. It will take your mind off of menial tasks and make you feel more accomplished about doing things around the house. Another way to squeeze in some extra calorie burn is to try doing push-ups off the kitchen counter. Even if you are only able to do small pulses against the countertop for about 10 repetitions, you will be burning calories as well as building strength and stamina at the same time.
Making Your Wardrobe Work for YouGiven that you are already devoting all of your time and energy to a new baby, the last thing you need standing in your way of working out is your wardrobe. The good news for new moms everywhere is that athleisure clothing is now stylish and available at affordable prices. Some of these companies will even deliver your new wardrobe to your home, eliminating the hassle of shopping in a store with a little one (or little ones). For example, Fabletics is one such company that specializes in providing trendy and durable exercise clothing for women that can be worn for multiple purposes. Fabletics has a great monthly subscription program, which allows VIP customers to select a new outfit each month for a low membership fee. The styles are always changing, which means that you can feel fresh and stylish as you go about your daily errands and intermittent exercises.
The most important thing in picking out the perfect athleisure outfit is whether you will be able to wear that clothing for more than holding planks or doing squats. You want to invest in lounge clothing that can double as street wear. This will save you money in your clothes budget and give you the maximum amount of freedom to move around during your day.
I'm definitely not a professional seamstress, even though I like to kid my family that I am, but I have recently taken up sewing and it has been an amazing outlet for my daily stress and anxiety. There's something very satisfying about taking a piece of raw material and turning it into something amazing.
While sewing, all your concentration is on the project in front of you and there's no time to worry about things that aren't really worth worrying about in the first place. Sewing is my therapy. Without further adieu, here is today's therapy project... an adorable rag skirt. 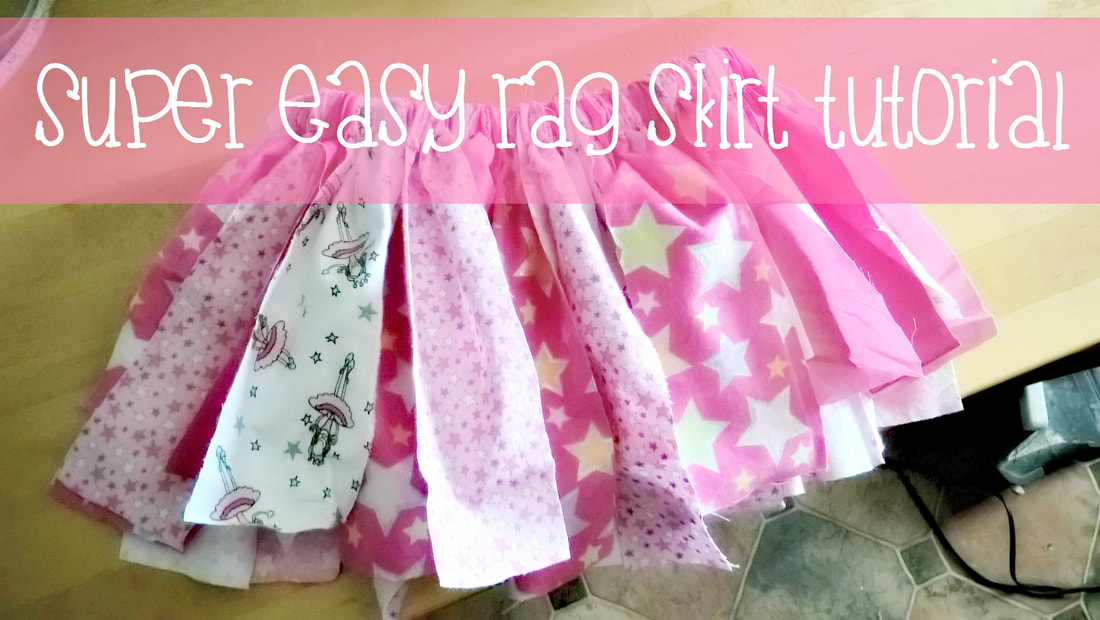
This project came together fairly quickly, but the prep was a bit tedious. There's a lot of cutting involved and some short seams which are a bit time consuming, but once you find a rhythm, you'll be fine.
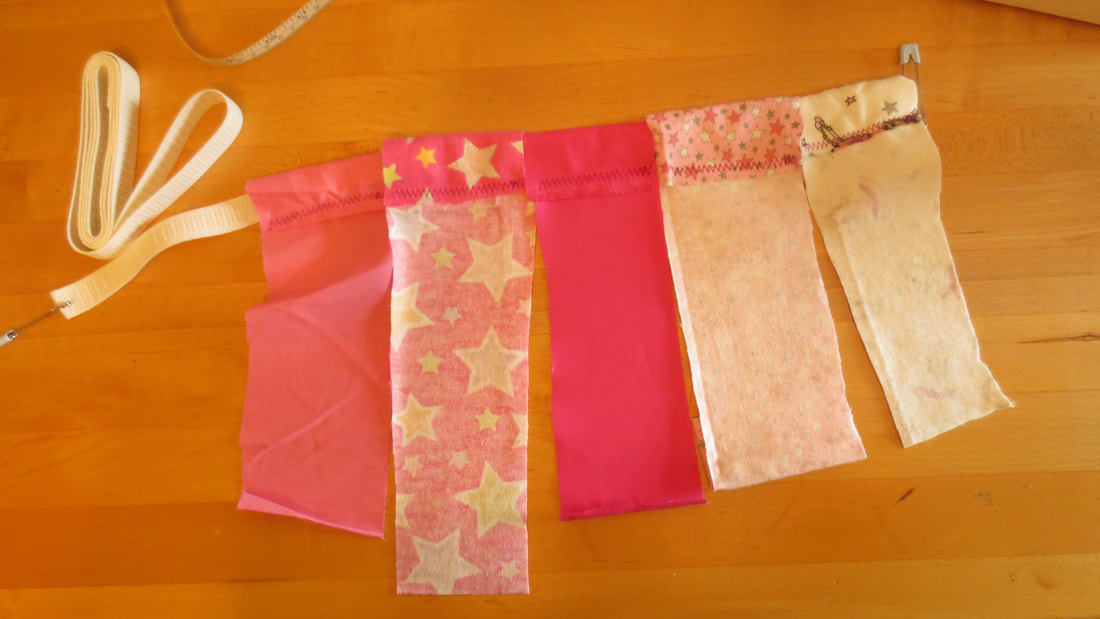
First things first, find several different, yet coordinating fabrics. I used five, but you could use as many or as few as you like. This is one time where prints, stripes and dots would totally work together. You can also mix the types of fabric you use. I used cottons and flannel-ish type fabrics. 
Now that you have your fabric, you need to measure the child who will be wearing the skirt from waist to where you want the skirt to hang. Take that measurement and add an inch and a half, two if you choose to put a nice hem on the edges. (I didn't, I think it looks more whimsical that way)
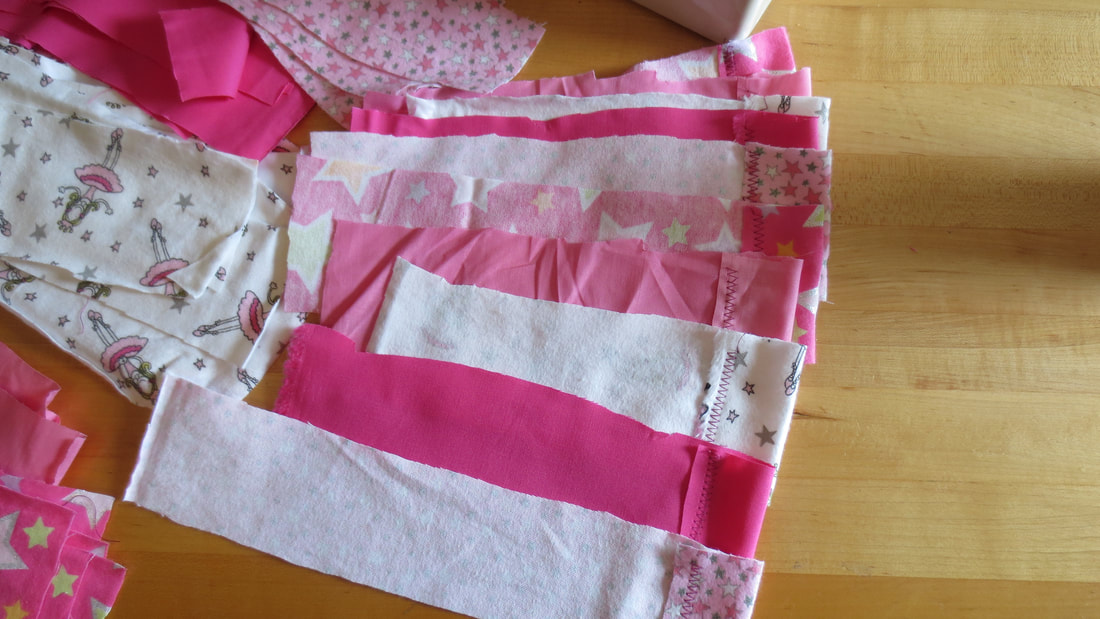
After you have your measurements, you can start cutting your pieces. I did mine approximately 3 inches wide, but you can go smaller, if you want. The skirt pictured above was made for a smaller framed, almost five year old. who wears a size 5t. My fabric dimensions were 3 x 21. You can also find sizing charts online with a simple Google search of something like "girl's tutu sizing guide". Lay out your fabric and mark every three inches or so, then cut. Do this with each pattern / color you chose. You don't have to have perfect lines, in fact it's better if you don't. The number of strips you need will vary, depending on the size rag skirt you are making. I used approximately 40-something strips and my skirt was very full. Try to keep each pattern or color in its own pile, this will help you later when you get ready to assemble the skirt. 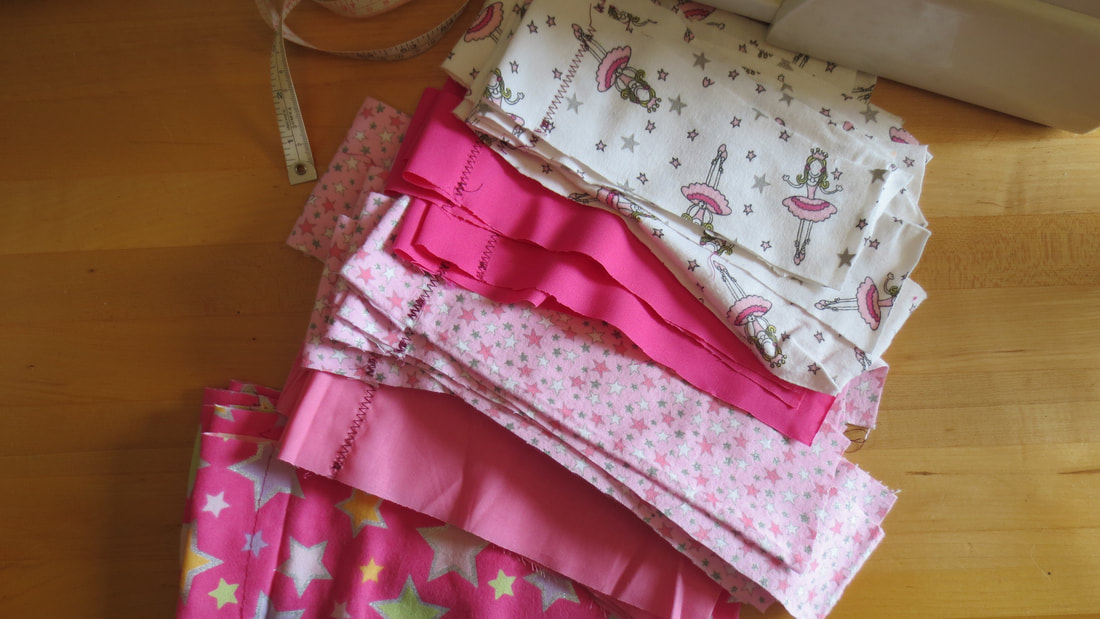
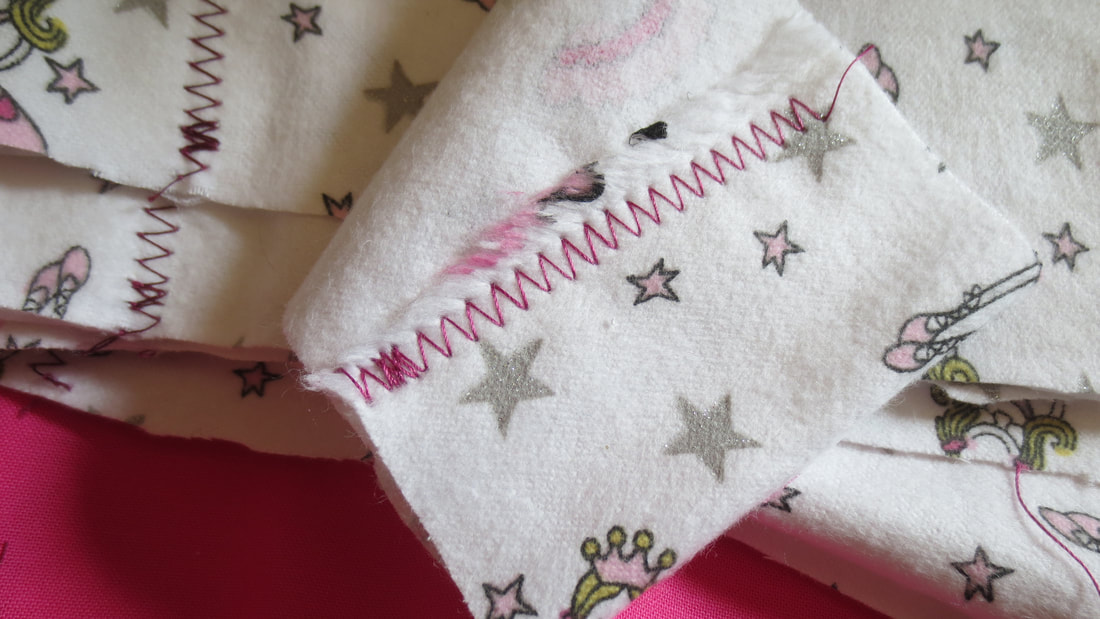
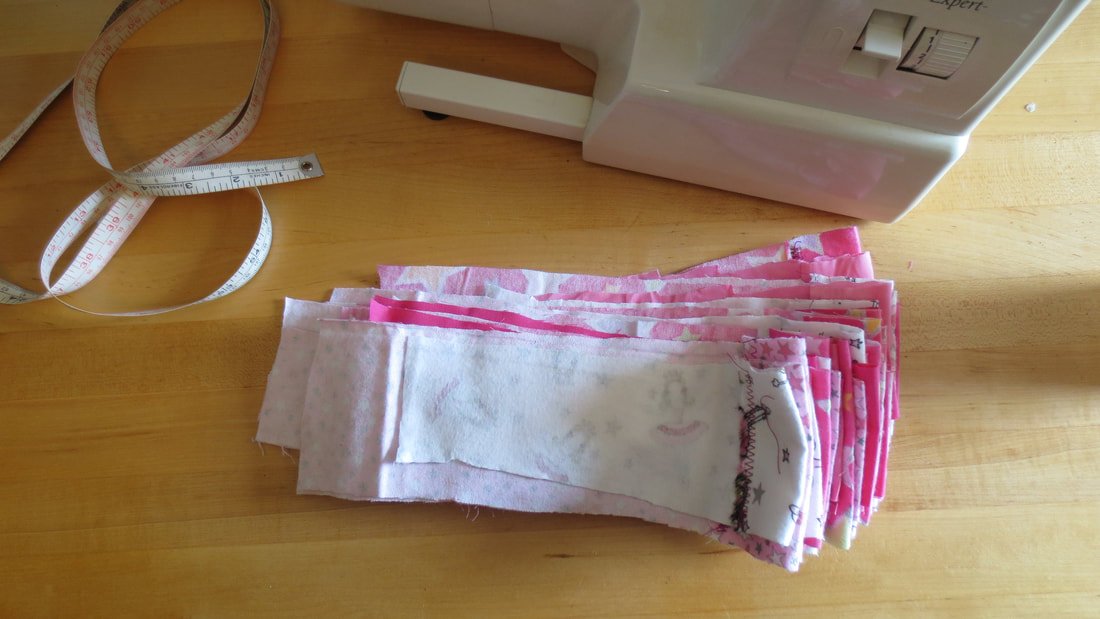
After you've cut your strips, while questioning your decision to make this skirt, you will add a one and a half-ish inch hem to the top of each strip, yes, all 40-something. No, there's no way around it, besides tying them, which is super bulky and not very easy to wear. You'll end up with something like this...(remember to back-stitch both ends) I used a zigzag, but you could use a straight stitch, if you want.
Now that you officially have carpal tunnel syndrome from all that cutting and sewing hems, it's time to arrange the skirt. You will want to lay out the strips next to each other to see how you want them arranged. I am super OCD and had to have a specific, symmetrical pattern... until I realized I'd cut more of two colors than the others. This is where the patience comes in. Keep your eye on the prize.
Lay out your strips, then sandwich them together in the order you want them on the skirt. You will end up with something like this...
Measure the waist of the child who will be wearing the skirt, add two inches for finishing. I strongly suggest using no roll elastic, it is a lot sturdier and will hold its shape better. A cheap elastic will get buried by the strips and it will infuriate you to no end... don't ask me how I know.
Secure a diaper pin in each end of your elastic. Notice in the picture below, how one is going straight and the other is side to side, that is on purpose. The straight end is for threading through your strips and the side to side end is to keep your strips from falling off as you assemble the skirt. You're welcome. 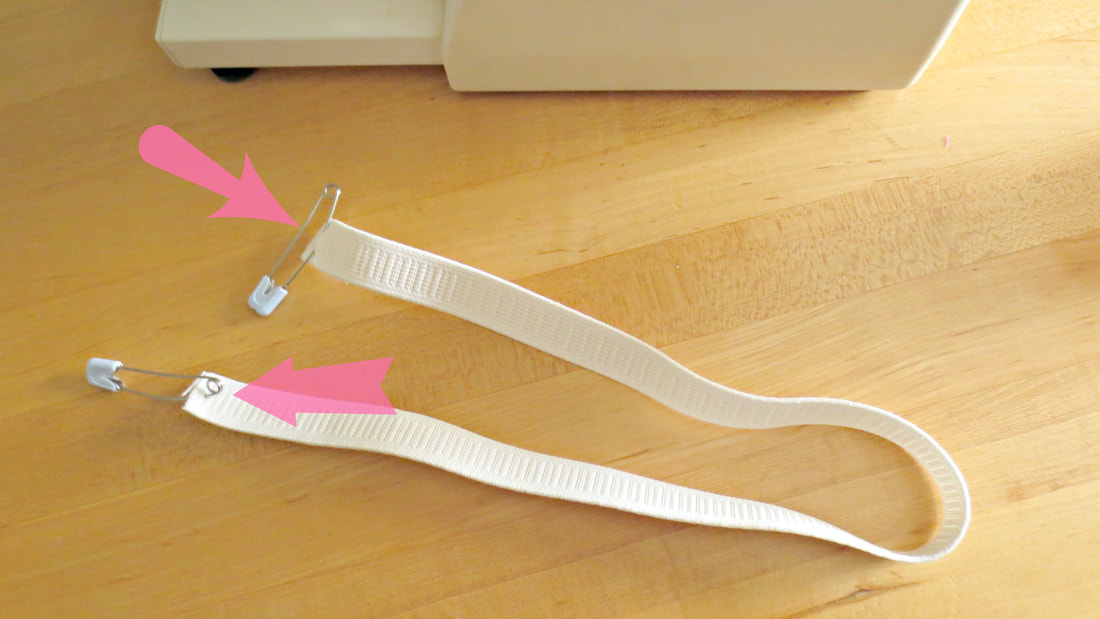
Finally, time to assemble the skirt. This part goes rather quickly and there's no right or wrong way to do it. Make sure you keep your elastic straight and scoot each strip as you go. This is where the extra pin comes in handy. Continue this method until all the strips are on the elastic.
After all strips are on and you've distributed them evenly, it's time to close the elastic and finish the skirt off. Measure the skirt around your child's waist and pin, then sew the elastic and hide it among the strips. That's it, you're done.
You can cut the bottom edge on an alternating diagonal or you could use pinking shears, but neither are necessary. You can expect a bit of fraying each time you wash, but this is part of the character of the skirt and won't really hurt anything.
Follow me on Instagram to see more of my "therapy sewing" projects, like this adorable upcycled pillowcase dress I made from a .50 Goodwill pillowcase and some fabric scraps.
It's a very common misconception that homeschoolers don't participate in the obligatory "back to school" shopping shenanigans that their traditional schooling counterparts do. In fact, it's quite the opposite, homeschoolers loooove shopping for pens and pencils and new clothes. Only, instead of buying button down shirts and khakis, we're buying new pajamas and slippers, because that's obviously what all homeschoolers wear, riiight?
Jokes aside, it is almost that time of year again and if you've got the shopping bug like me, may I suggest you check out Groupon Coupons before trudging into the store. Not only can Groupon Coupons save you money, they could quite possibly save your very sanity. *insert dramatic music here* There are those who like to brave the crowds and enjoy the thrill of the hunt and to those people, I say: (slow clap) ... Way to go, you are the real MVPs, but for those who, like me, abhor the very idea of schlepping through all those people and all the unorganized chaos that once were nicely arranged shelves, say "hello" to free shipping and no lines from *a ton of your favorite stores. *Actual number of stores is closer to >125. "a ton" was just a guesstimation.
You can start your shopping journey at my favorite-place-to-blow-fifty-bucks-in-just-the-Dollar-spot-alone; Target, where you can score $5 off $50 as well as free shipping on all your favorite items for back-to-school. (obligatory Starbucks drink not available for online shopping, plan accordingly)
Does little Sally need a new backpack, maybe a new lunch box for little Johnny? No matter which item is at the top of your stereotypically-1955-era-named-kid's list, you will find it on Amazon.com. I bet they even have pajamas, if you look hard enough. (wink wink) For a limited time, you can save as much as 70% on electronics and more, clipping coupons and codes as you shop.

After Johnny and Sally get new backpacks and lunchboxes, it's off to the eye doctor for a check-up. You have to make sure they can see the board, so they can be at the top of their game academically. 1-800 contacts is offering an amazing deal, just in time for back to school; $40 off plus free shipping. *certain minimum spending requirements apply

Any good, self-respecting homeschooler knows, Barnes & Noble is where it's at, when it comes to books and educational games and resources. They even offer a 20% educator's discount, if you have proof of homeschooling and for a limited time, you can save 25% off Harry Potter paperbacks. Revisit your favorite childhood stories and introduce your kids to these classic tales. The only thing better than a Harry Potter book, is a 25% off Harry Potter book.
Where in the rule book does it say little Johnny and Susie should get all the goodies? Nowhere, that's where! While you're on your online shopping adventure, stop by Shari's Berries and order yourself a dozen gourmet fancy dipped strawberries for 25% off regular price. Shoot, you deserve it for all your hard work.
Unless you've been living in a cave or hiding under a rock (see what I did there?), you've probably seen (or at least heard of) the the rock painting craze that is sweeping the country. If you haven't, I will give you the Cliffs Notes version... You paint or decorate rocks and then hide them in inconspicuous spots around town for others to find; kinda like an artsy fartsy version of geocaching. 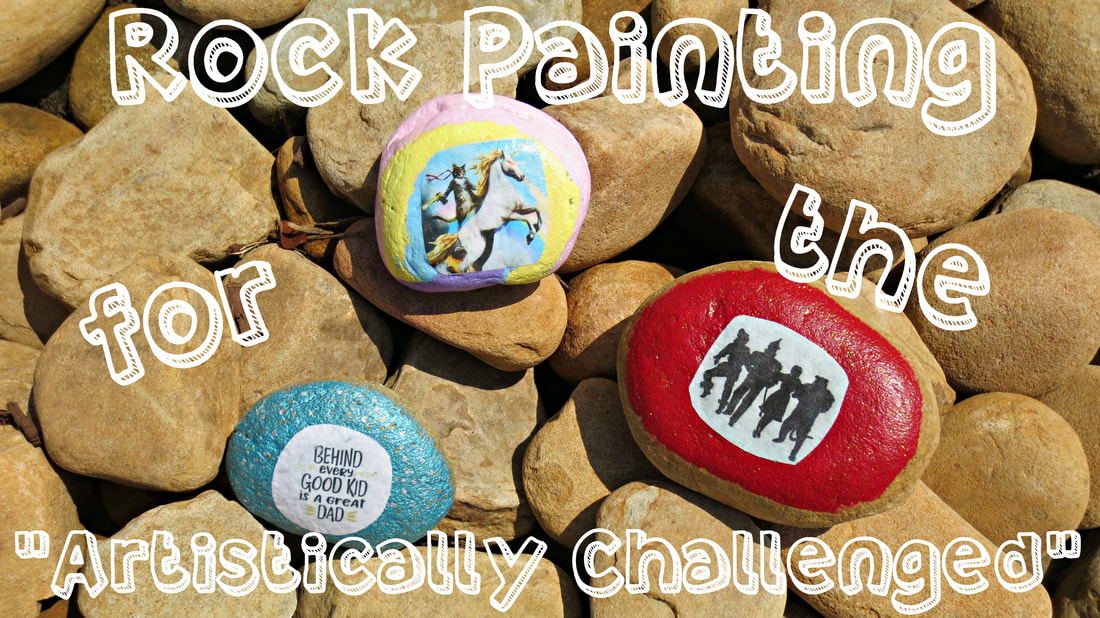 The goal of "rock farming", as some call it, is to bring a smile to a stranger's face when they find your hidden gem. Kinda like a random act of kindness or, what I like to call a "Karma boost". The best part of all; you don't even have to be artistically gifted or even creative to participate. All you need is a few common art supplies, rocks and an imagination. Some people get really fancy with their rocks and paint glorious scenes and portraits and use actual art implements, like brushes and such. (I admit, I have had rock envy more than once) While that is great for them, most of us are not budding Picassos. Instead of allowing my complete lack of creative ability dissuade me from becoming a rock planter, I decided to do what any good, red blooded 'murikan would do.... CHEAT! Yes, I found a way to cheat at rock painting....Say "Hello" to my little friend: Mod Podge aka glorified school glue. 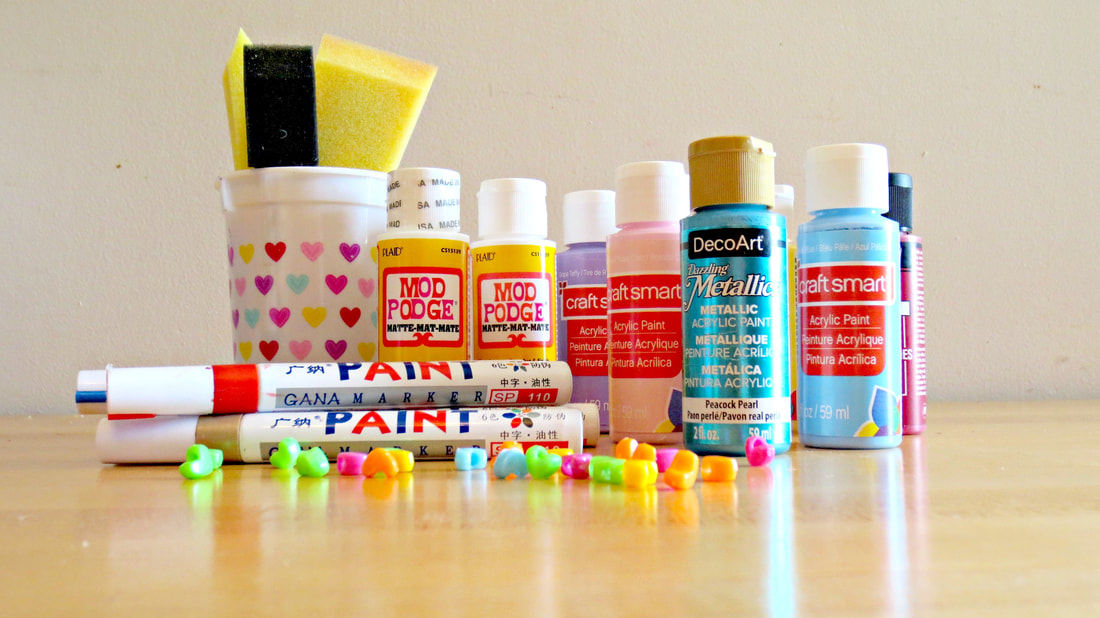 You can find all of these supplies at any discount store or Michael's When I saw a guy in my local group had painted this really cool rock with the bedroom window flying scene from Peter Pan with glow-in-the-dark paint, I was floored... and also a bit jealous. I wanted to make really cool rocks, but I know my limit(s) and it is somewhere right around stick people. As if by some stroke of artistically challenged genius, I thought... "I can't paint to save my life, but I can decoupage like nobody's business." and it was at that moment, I came up with the most okayest idea I've had in quite a while... decoupage the rocks with clipart from the internet. Yes, I know, I was quite astonished myself. (sarcasm) I set off to make my first rock in a series I call "Stuff I Like". Still remembering the Peter Pan rock I saw on Facebook, I thought of my favorite movie of all time, The Wizard of Oz and I started perusing the internet for free clipart. After finding a few images I liked, I knew they would need to be resized, so I went to Picmonkey. (a free-to-use online photo editing program) This part might take a time or two to get right. Take into consideration the size of the rocks you will be using and resize accordingly. You could also just enter your images into the "collage" feature on Picmonkey and it should resize pretty close to what you'll need. Like this... Go to picmonkey.com and look at the header on the top. Click on the "collage" option. Once your editor opens, look to the left hand side of the page and click on "add images" 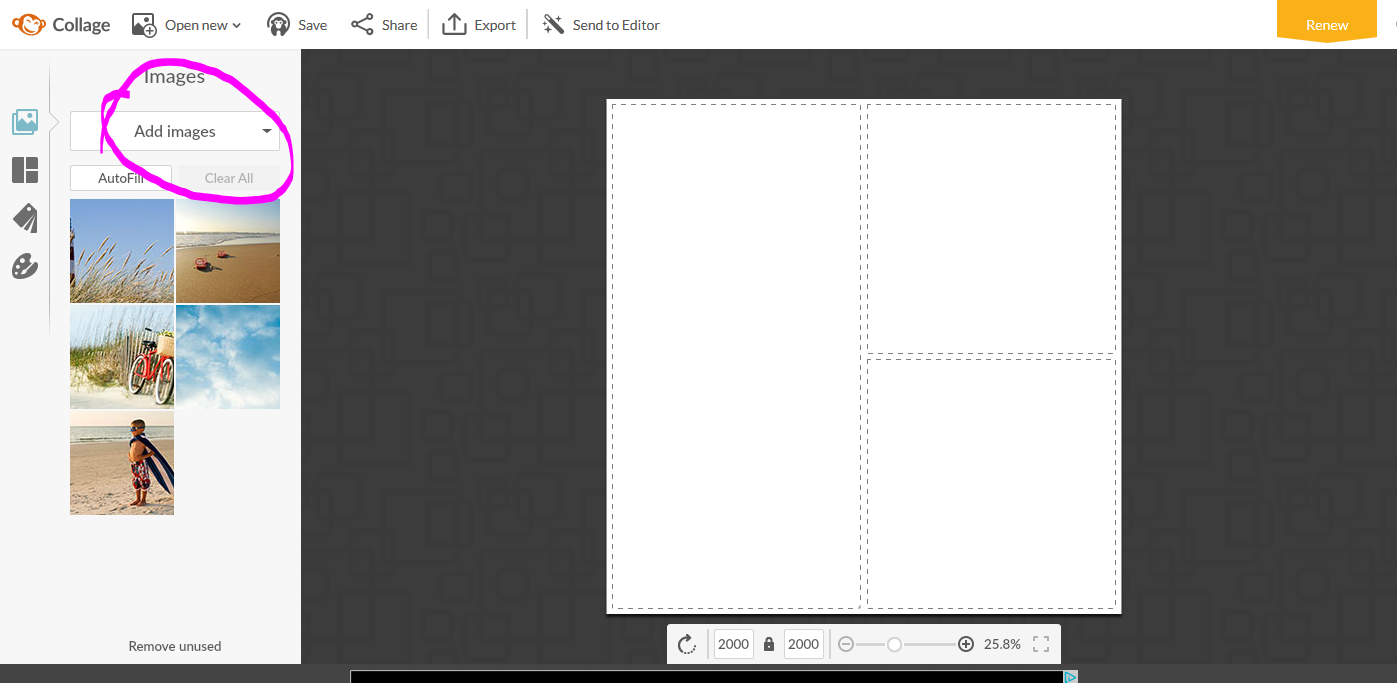 After you've added your images, choose the 4x4 collage frame by clicking on the appropriate buttons on the sidebar, like this... 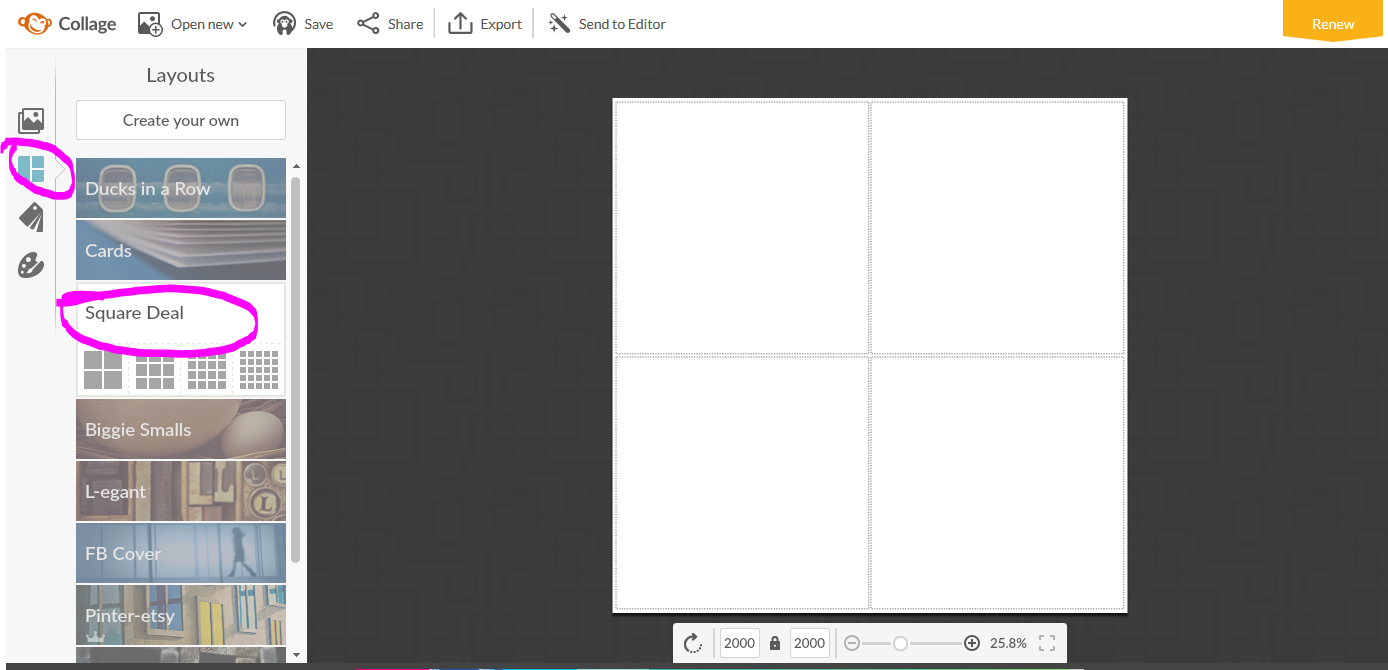 Go back to the photos you just uploaded by clicking on the picture icon on the left hand side of the menu. (the one on the top that looks like a photo) Add each of your photos to a frame in the collage. You could also use the 3x3 frame as well, if you need your images to be smaller, just leave blank spaces as needed. 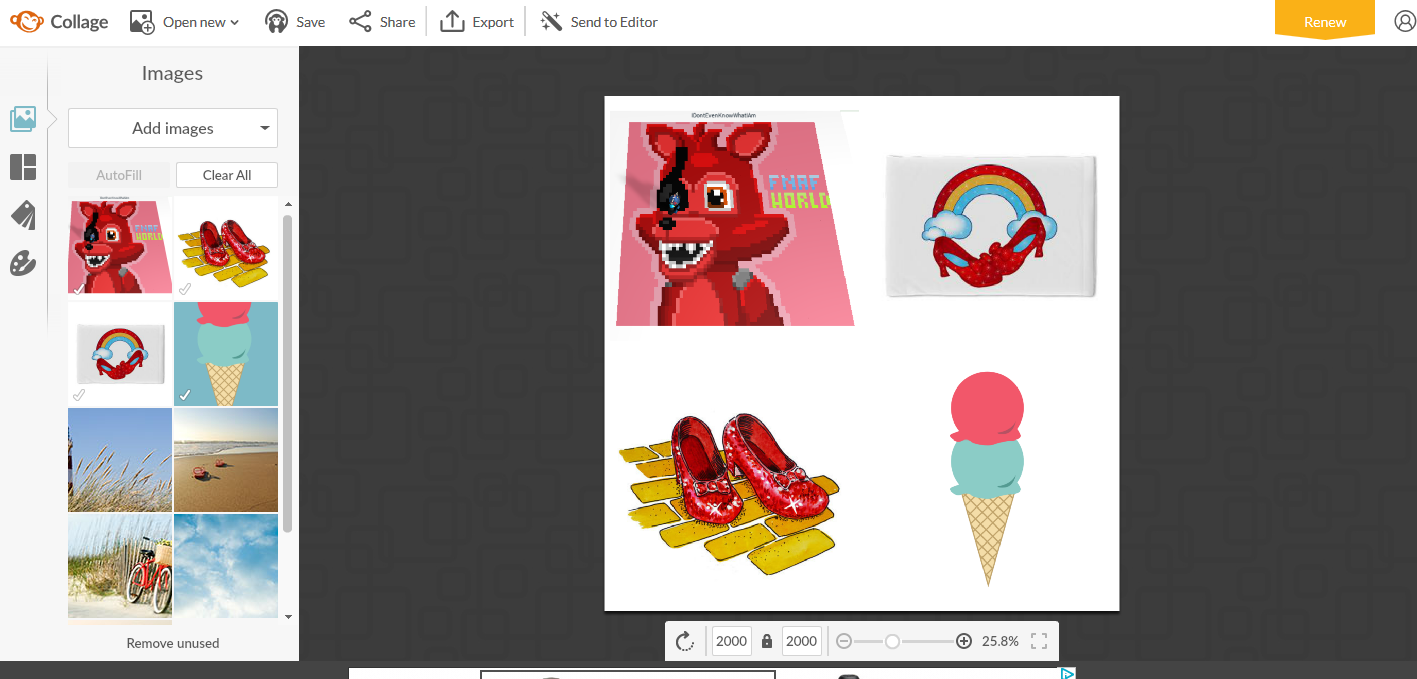 Now all you need to do is save this collage to your computer and print it out. After you get the images printed, cut them out and see if they will fit the rock you intend to decoupage it to and trim accordingly. You will want to prime your rock with an acrylic paint. Bonus points if it has glitter. You can also use regular glitter glue and add it as its own coat after the initial paint is completely dry. You should end up with something like this.... 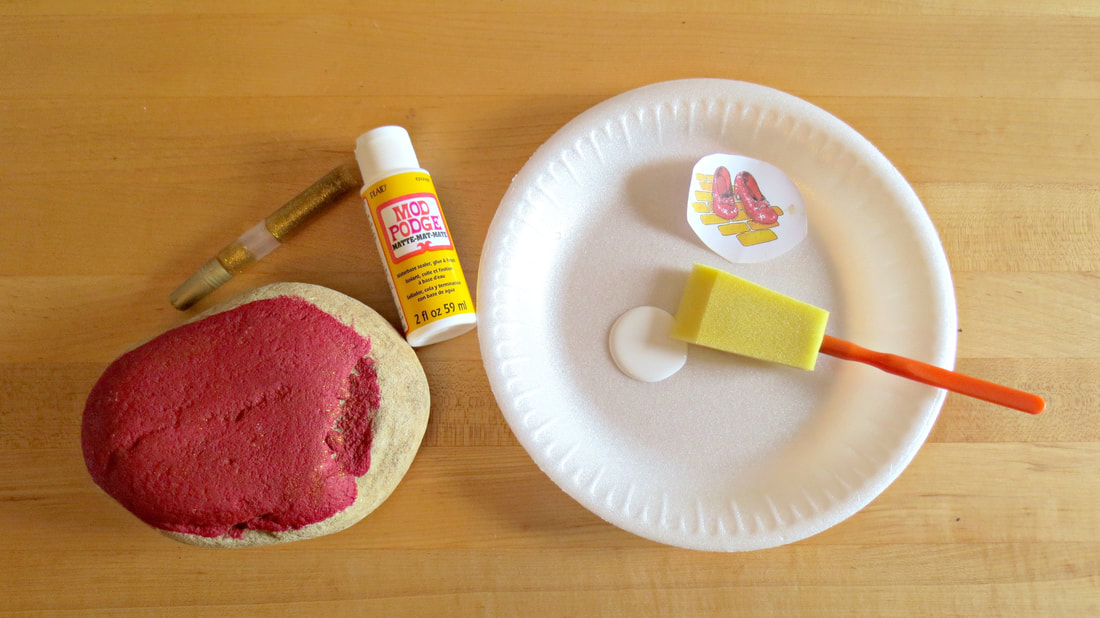 You will notice I am using the very technical art implement known as a "sponge brush". You can literally do this with a Qtip if need be. (although that would suck and take forever and probably leave lots of fibers behind) Note: Remember to rinse your brushes or sponges out after each use. While this is pretty fool-proof, I added some handy dandy pictures of the steps, in case you're one of those people who likes (needs) pictures... 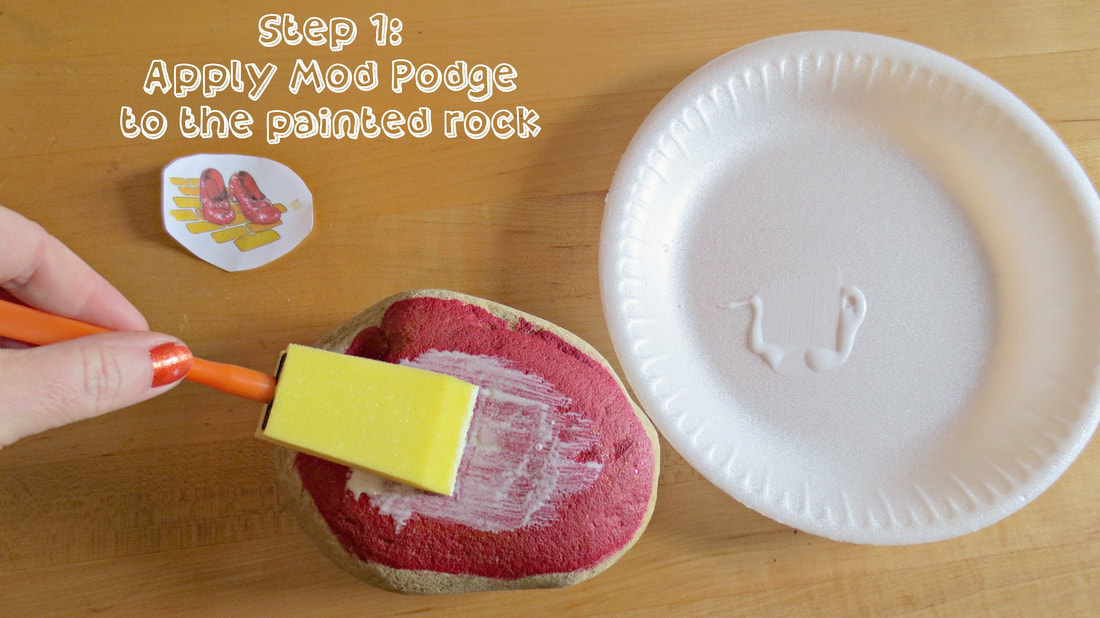 Notice I used a plate to hold the Mod Podge, this is superfluous, you can just squeeze it directly onto the rock. 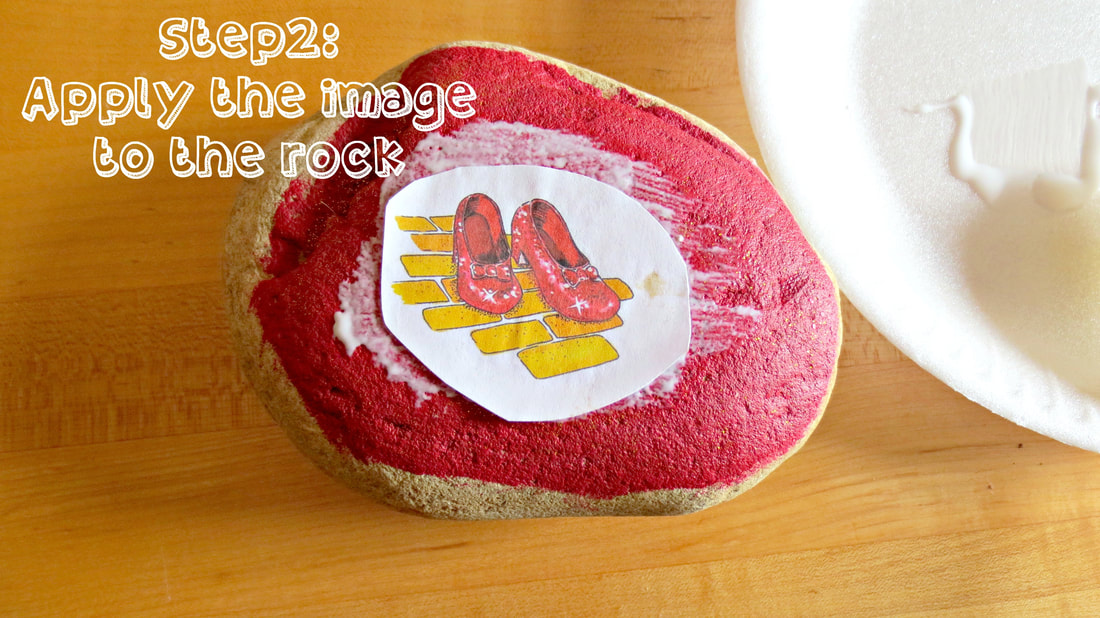 Make sure to adhere the edges really well and squeeze out any bubbles lightly with your finger. 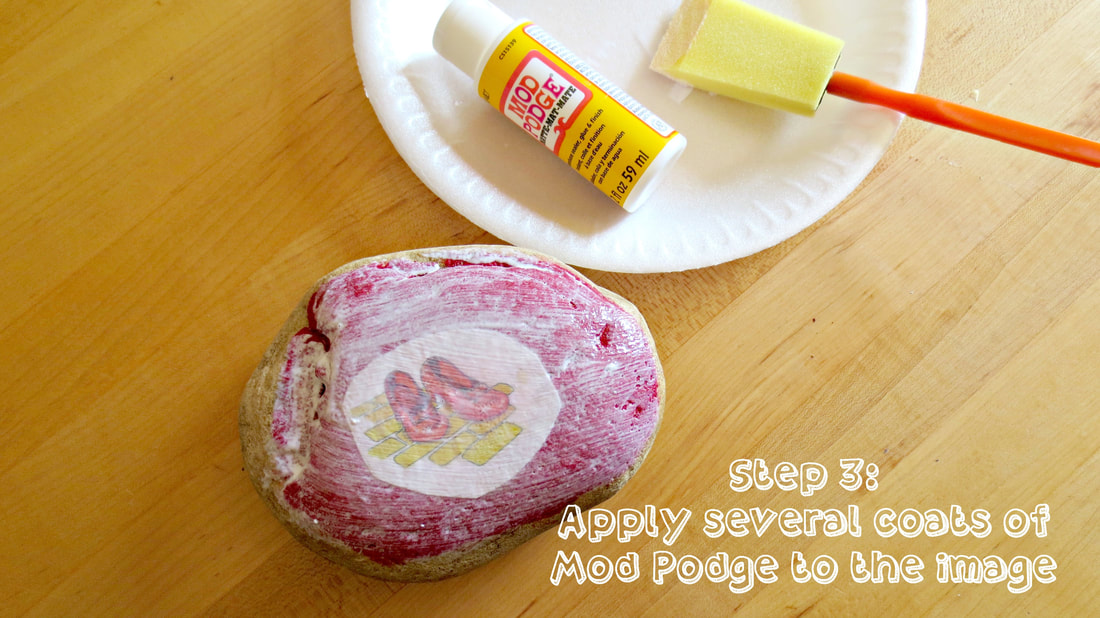 Notice it is opaque when wet, but dries clear. You will want to let the Mod Podge dry in between coats and I like to apply at least three, if not, four coats and then allow it to dry a day or so before planting. After your rock is dry, you can embellish it with paint pens or even tiny beads. (make sure to use an appropriate outdoor-safe glue) 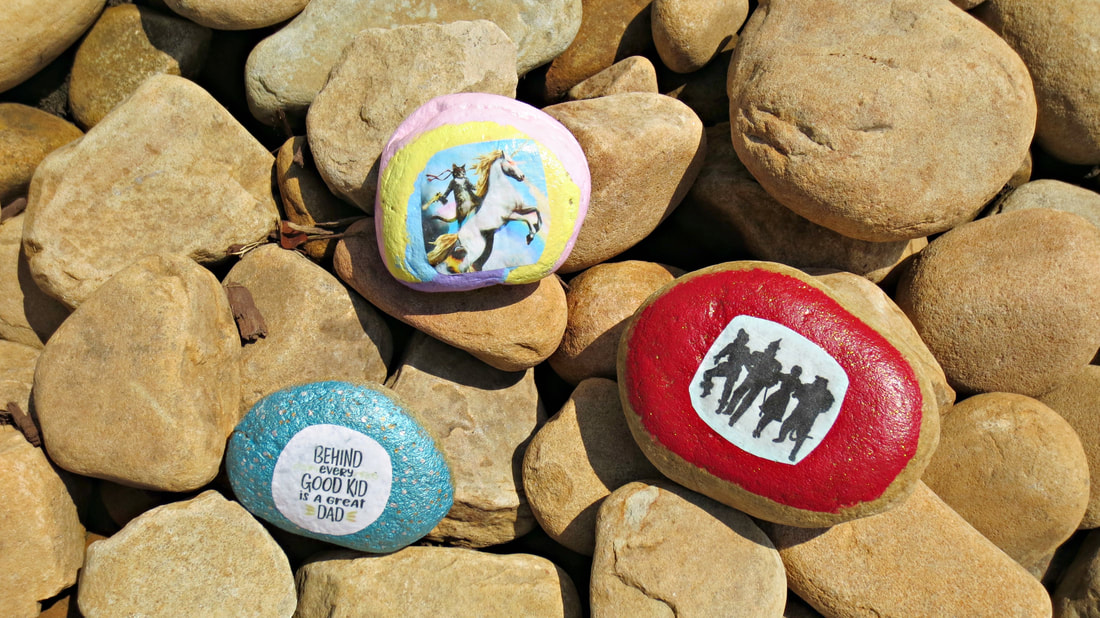 These are a few that I have created in the last few weeks. The blue one was a gift to my husband on Father's Day. The ninja cat on the unicorn's back is my personal fave and I probably will not be hiding it, ever and the Wizard of Oz is the opposite side of the one shown in the handy dandy pictures above. Using this method of rock decorating, the only limit truly is your imagination... and the limits of your clipart finding abilities. I would love to see any decorated rocks you or your kids have made. Drop a comment or link in the comment section below.  |


10 Ways to Practice Self-Care During Your Period
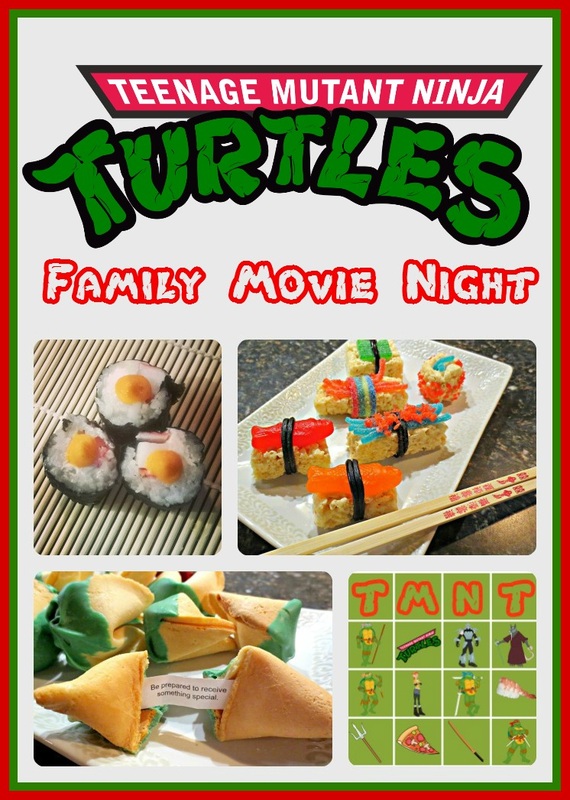
TMNT Themed Family Movie Night Activities and Recipes

Loaded Faux-Tato Soup (low carb)
Natural Help for PMDD Symptoms
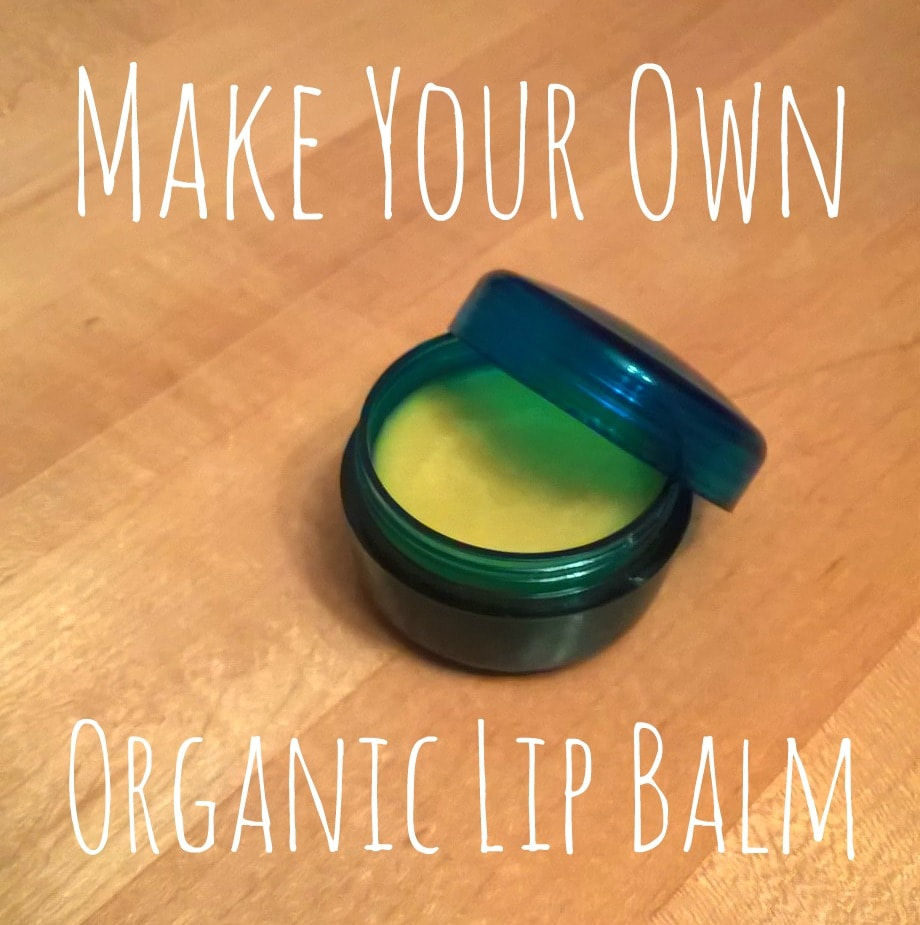
DIY Organic Lip Balm
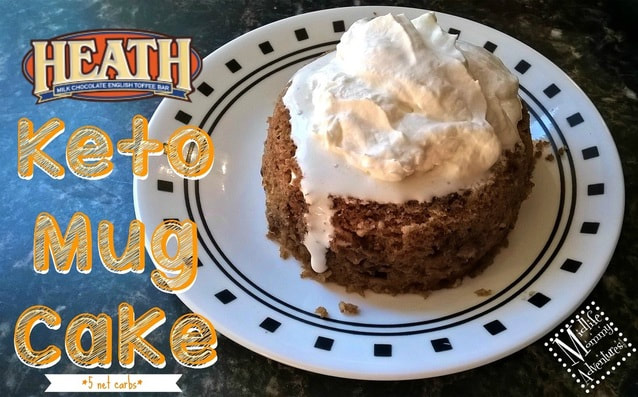
Heath Bar Flavored Keto Mug Cake

DIY Lava Lamp Experiment


 Follow Me on Pinterest


|


 RSS Feed
