|
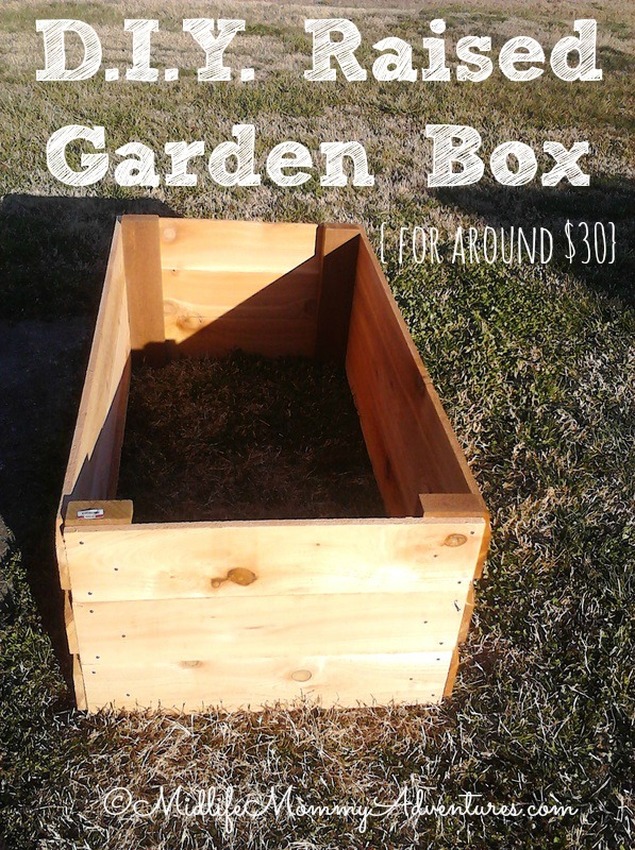
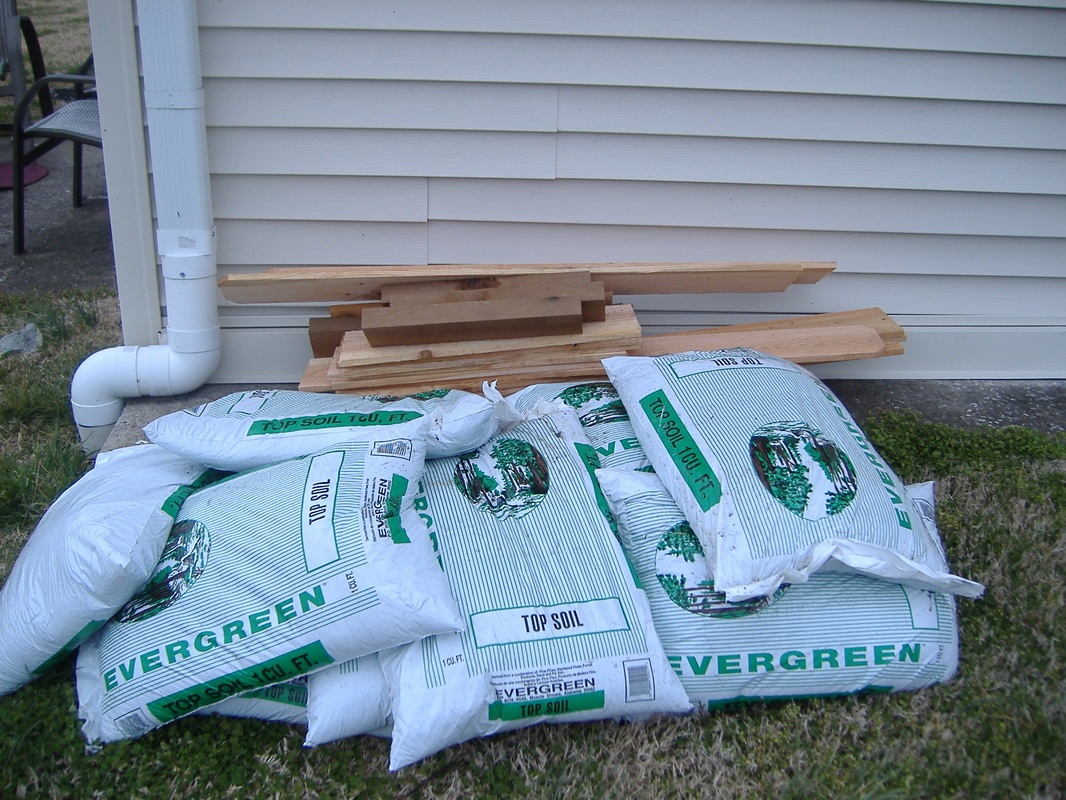
It's starting to warm up a little bit here in Tennessee, we've even had several days in the upper 60's, and with that warmth comes thoughts of the spring garden. This will be our first year to have a real garden and I am super excited. I have been wanting to plant a garden for years and now we can... and I have zero idea what I'm doing. When I was a kid, my Mom had a small garden with lettuce and a couple of tomato plants in it and I had an old whiskey barrel that she let me plant beans in, so my gardening knowledge is very limited to say the least, but I have faith that it is not brain surgery, but simple science, and I will do fine. Due to the rules of my Homeowner's Association and drainage issues we've had, I chose to plant in raised beds. I had a hard time finding something I liked, that was in my price range and also the right size, so I decided to build my own. I found several plans online and tweaked them to meet my needs. I decided to build a bed that was 18 in high, 2 ft wide and 4 ft long. It would fit the space beside my back patio and would be just the right size for me to tend to easily... it would be perfect! I checked different prices online and found Lowe's to have the best prices on what I'd need. For this project, I used.....
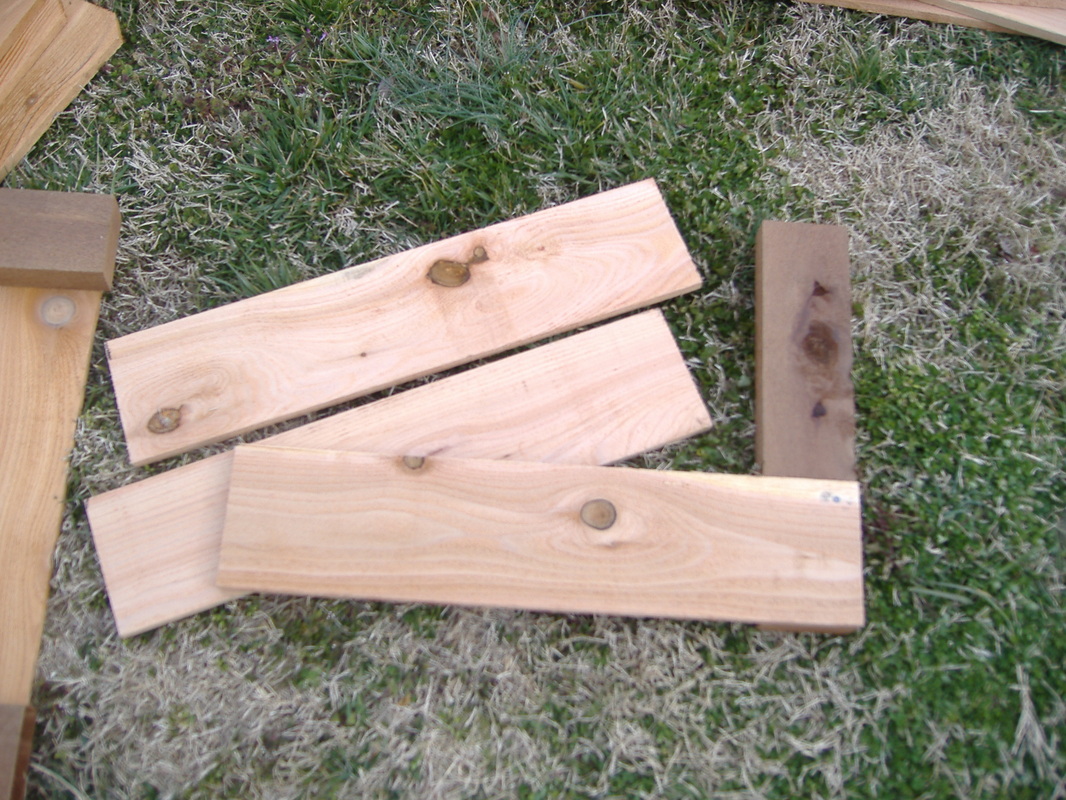
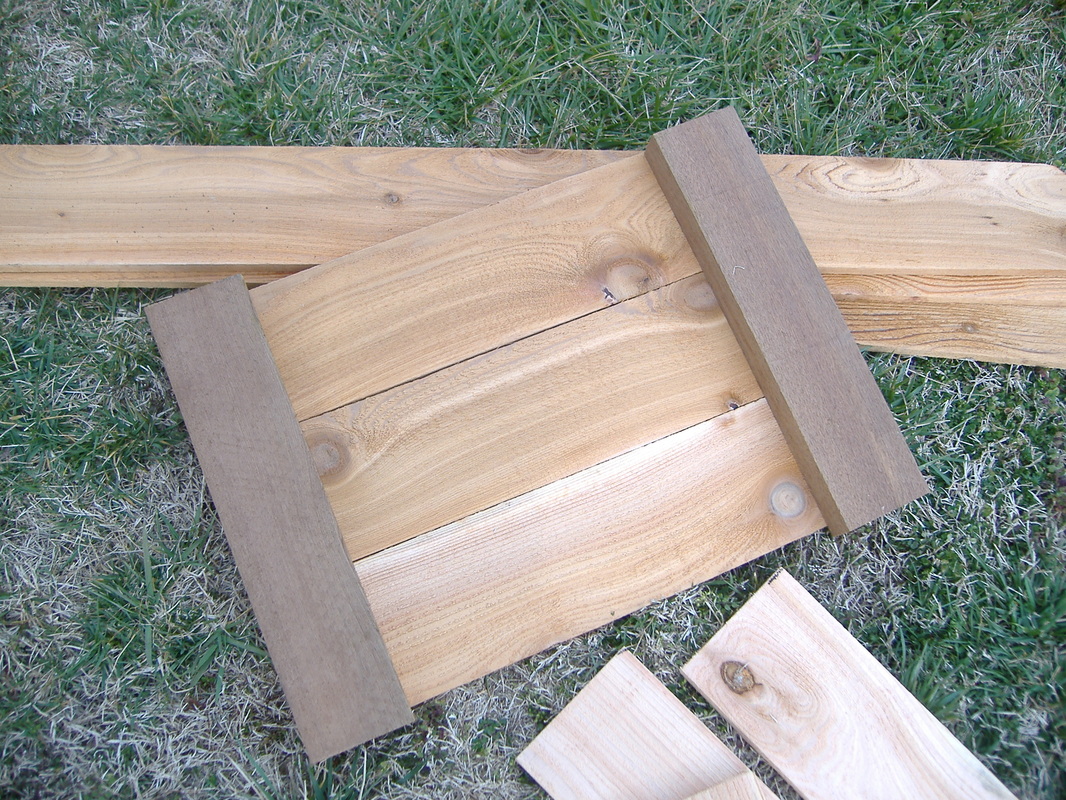
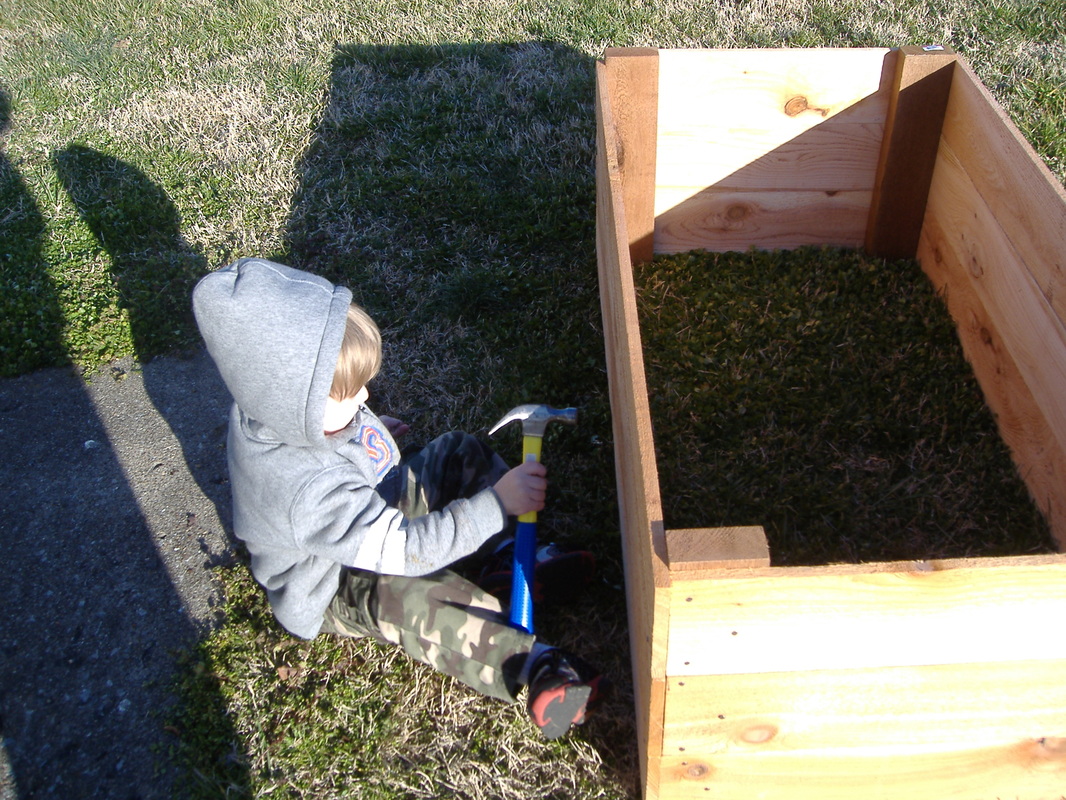
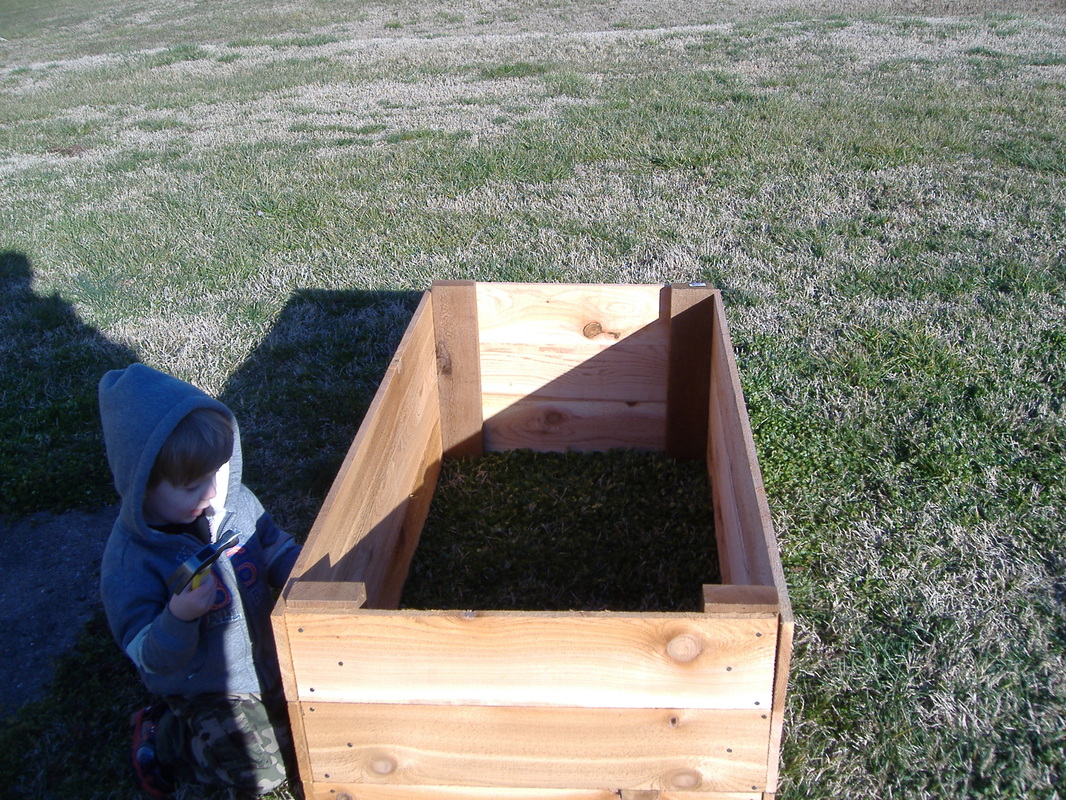
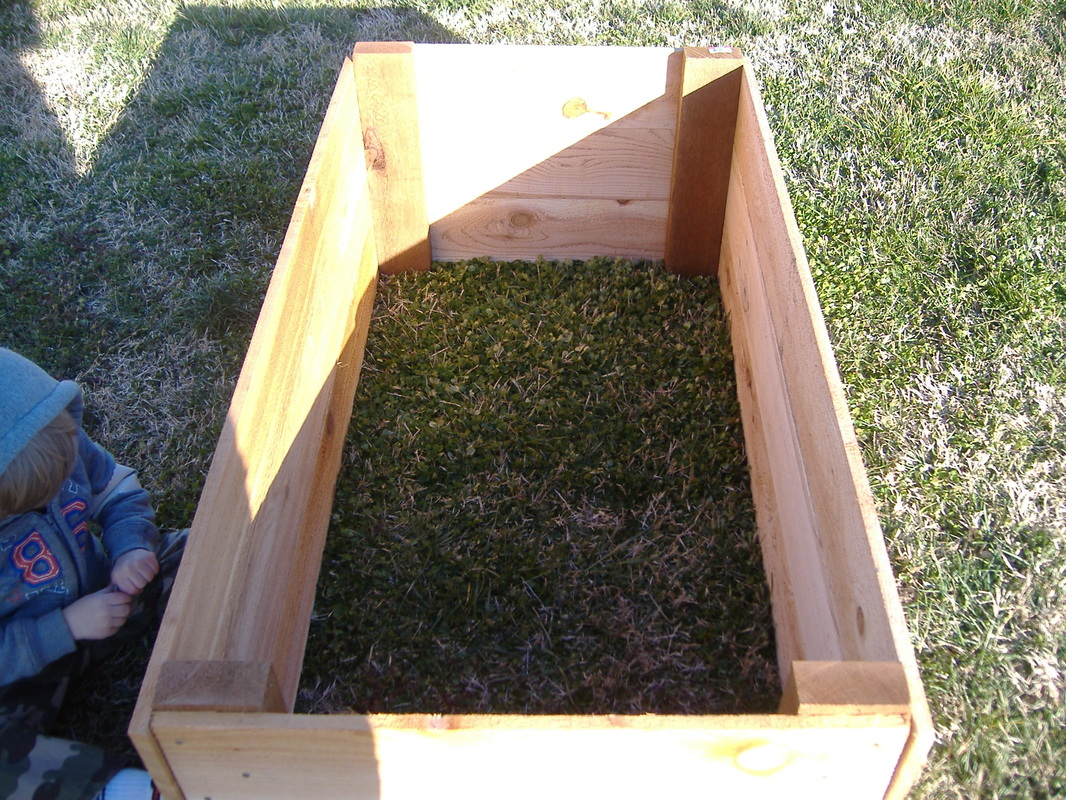
I had the fence pickets cut into 6, 4ft pieces for the sides and used the 2ft leftover for the ends and the 2x4 was cut into 4, 18 inch pieces, to brace the corners. Attach the end pieces to the 2x4 with nails, attach the other 2x4 piece to the other end of the board and continue with the same process, until all 3 boards are securely attached. Finished end piece Finish the other end in the same fashion. You now have 2 separate pieces that look like the one above. Take one of the 4ft side pieces and attach it flush to the bottom of the end with nails. Place it on the ground and check that it is level, then attach the other end piece to the bottom of the side. Ok, admittedly, I am not too good at explaining how to build this project, but if you look at the pics, it's pretty self explanatory. Basically, it's a box, with no bottom. This was a super easy and fun afternoon project. If you can hammer a nail into a piece of wood, you can build this garden box. It only took about 30-45 minutes, start to finish. (At least it would have, had I not had so much "help")
6 Comments
3/13/2013 12:14:43 pm
Nice! But where did you find garden soil for $1.30 a bag?! I just paid $7.47 for 2 cubic ft of Miracle Grow soil, not because I have a preference but because it was the cheapest!
Reply
Niki
3/13/2013 01:05:39 pm
I got it at Lowes in West Nashville over off Charlotte, but it's not garden mix, it's just top soil and I'm gonna amend it with some manure, compost and a little bit of perlite. I already spread it into the bed and I've been watching it and it seems to drain well, so I think it will be ok.
Reply
kathleen
3/31/2013 01:42:52 pm
i'm not as handy as you so i did the same project but bought a kit from Lowes for around $35.to to $40.00 that came with predrilled holes and screws and all the wood measured out. All I needed was an electric screwdriver. yours is much taller than mine, i just have two boards from the bottom instead of three and i was surprised by how much soil it needed to fill the darn thing.
Reply
Michael
5/12/2013 02:49:48 pm
Thanks for the directions. I found 6' Cedar planks at HD and had half of them cut to 3' sections so my finished box is 3 x 6. I used 1 5/8" deckscrews to secure the corners ( made pilot holes) instead of nails. I may need to further reinforce the sides because 6' feet x 12" of soil might cause to much stress for the box. I also used 2x6 cedar for the corners and put the 6" inch side of the 2x6 corner piece with the 6' side of the box, thought that might be stronger. I plan to line the box with heavy (5 mil) plastic with a weed barrier underneath. I believe the boxes ended up around $40 each ( built 2).Thanks again for the simple, functional, and nice looking planters.
Reply
You're so welcome! You are right about turning the corner piece. I noticed that after I was finished with them and I also added a middle bracing piece as well, after this pic was taken. I just re-planted this bed yesterday. Initially, I skimped on my soil & the lettuce wouldn't even grow, so I pulled everything out, added a couple if bags of good stuff in and restarted my lettuce & onions & transplanted a strawberry plant. I hope that does the trick, as I am out of ideas... And funds. lol I hope your bed is bountiful & bug free. Thanks for commenting!
Reply
9/19/2013 11:06:30 pm
Finally, I got what I was looking for. Don’t have enough words to thank you that you choose this particular topic to write about. Feeling really satisfied after reading
Reply
Leave a Reply. |
Follow Me on Pinterest
|








 RSS Feed
